Greetings,
Have you ever wondered why hunter gatherers used stone tools for so long (banging rocks together, as some might say)? Why metals became popular only with the rise of civilization? I think I got to know the answer… the hard way! Welcome to the “From Ore to Knife” series! 
So, a while back I got into blacksmithing, but as a perfectionist, I wanted more and more. I thought, hey, why not make my own steel? It cannot be that hard, looks easy on YouTube. And so, I spent a good deal of time looking for the bog ore (it’s a miracle I actually found it, more on that in Part 2), then bought some charcoal, built a small bloomery, thrown in the ore and the charcoal… and… failed miserably. Two Times. But some observations have been made. For my third time, I asked two old friends, math and physics for help… Let me share with you some insights and critical mistakes that I made before finally succeeding in this very fine art of ironmaking.
So, before I even go into the process of smelting itself, the first, most crucial thing you need for a successful smelt is charcoal. And lots of it. Really. And, in fact, it is very important that you make it yourself. Commercial charcoals do not work and WILL ruin your smelt almost certainly. It is so important that this first part will be devoted solely to making charcoal and how I managed to produce enough of it.
The idea is pretty simple: charcoal is almost pure carbon left after burning out the volatile elements out of wood. This implies you need a heat source, which, in this case, will be the burning wood itself (although you can just put a barrel full of wood in a fire and it will work as well). Of course, we want to do it the way we would in a real wilderness situation with no steel barrels. The trick is to allow just enough air to the reaction to keep it burning, but not burn too much of the source material.
Easier said than done. Either way, I headed into the forest and collected just a little bit of wood.

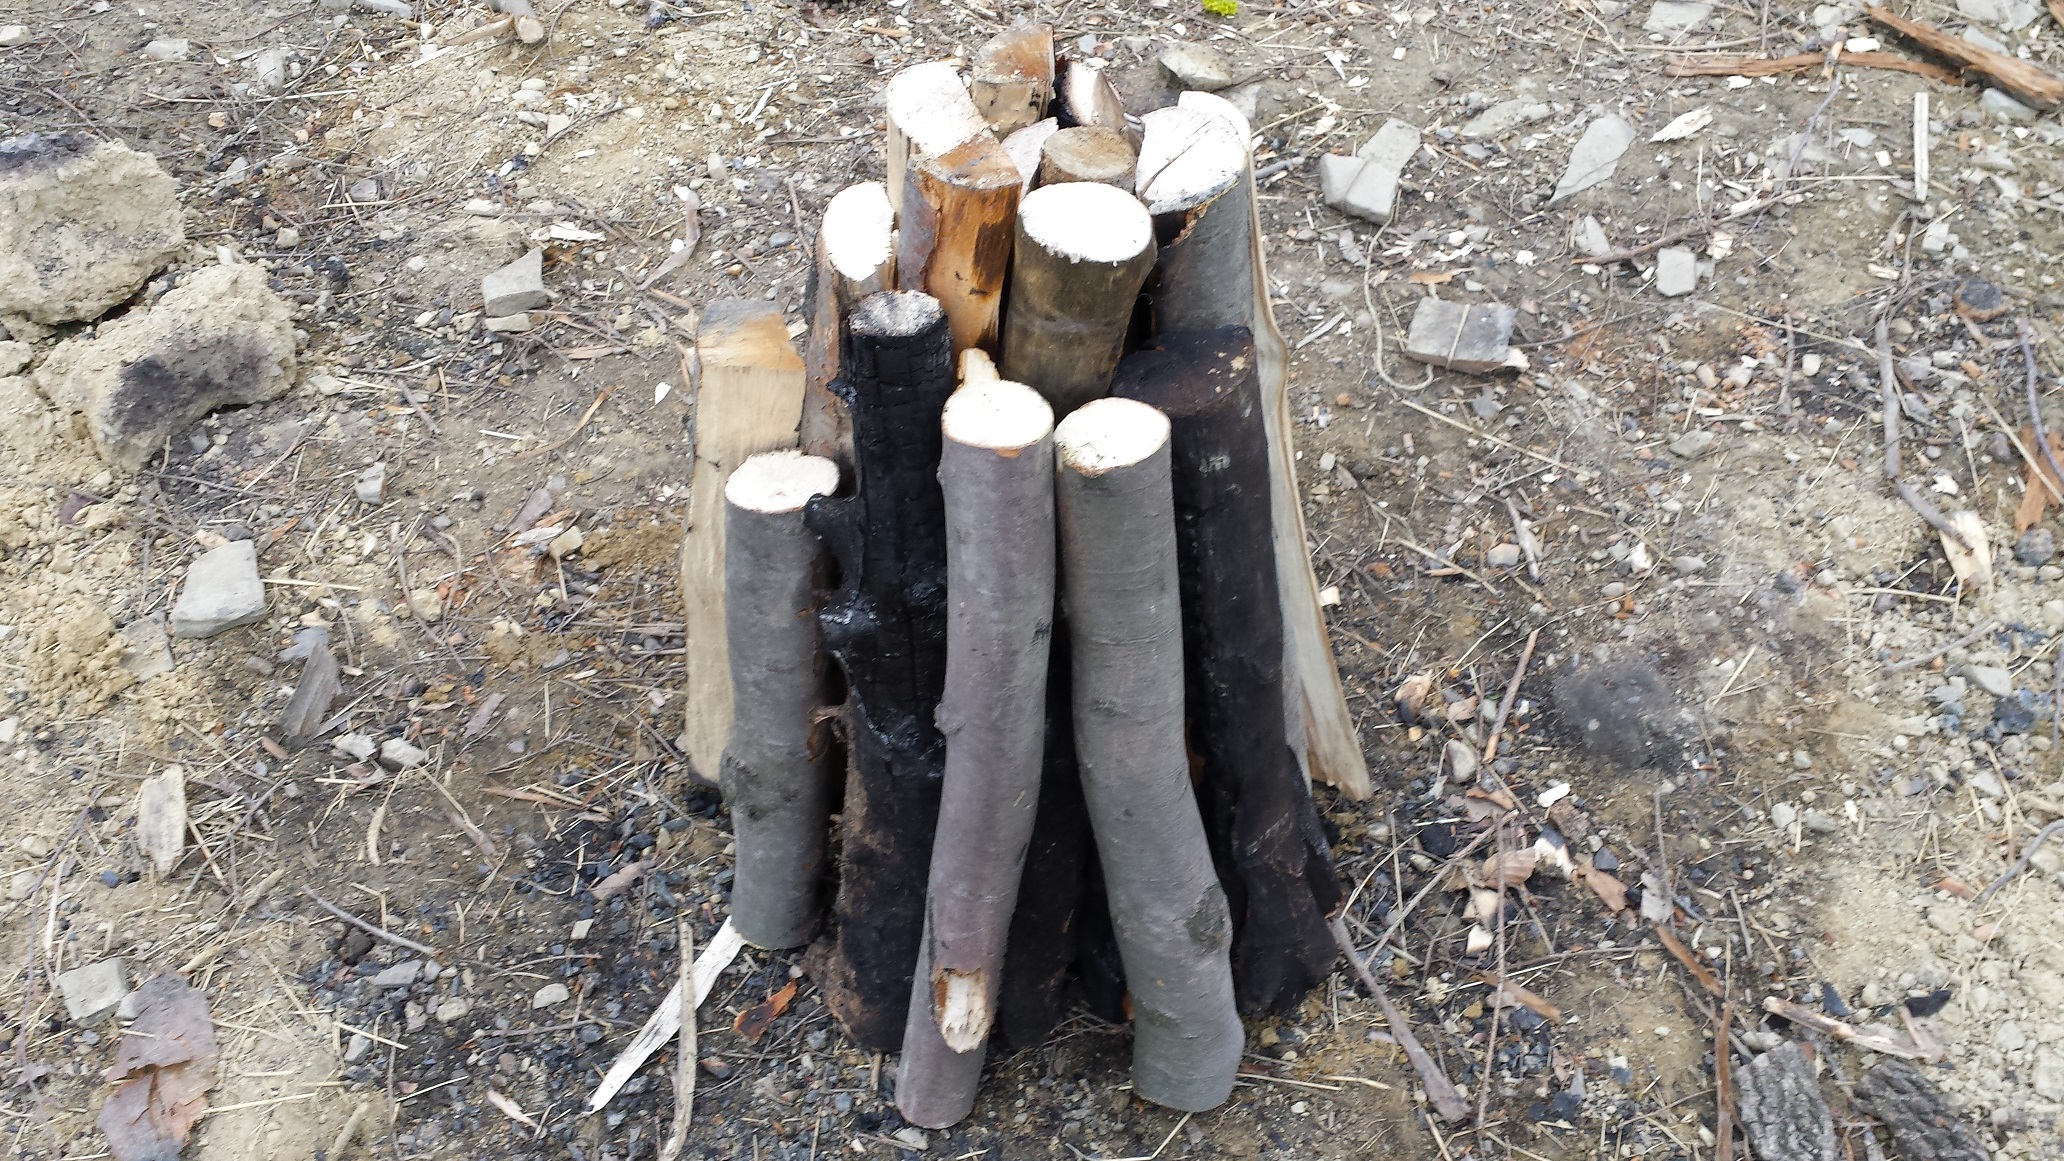
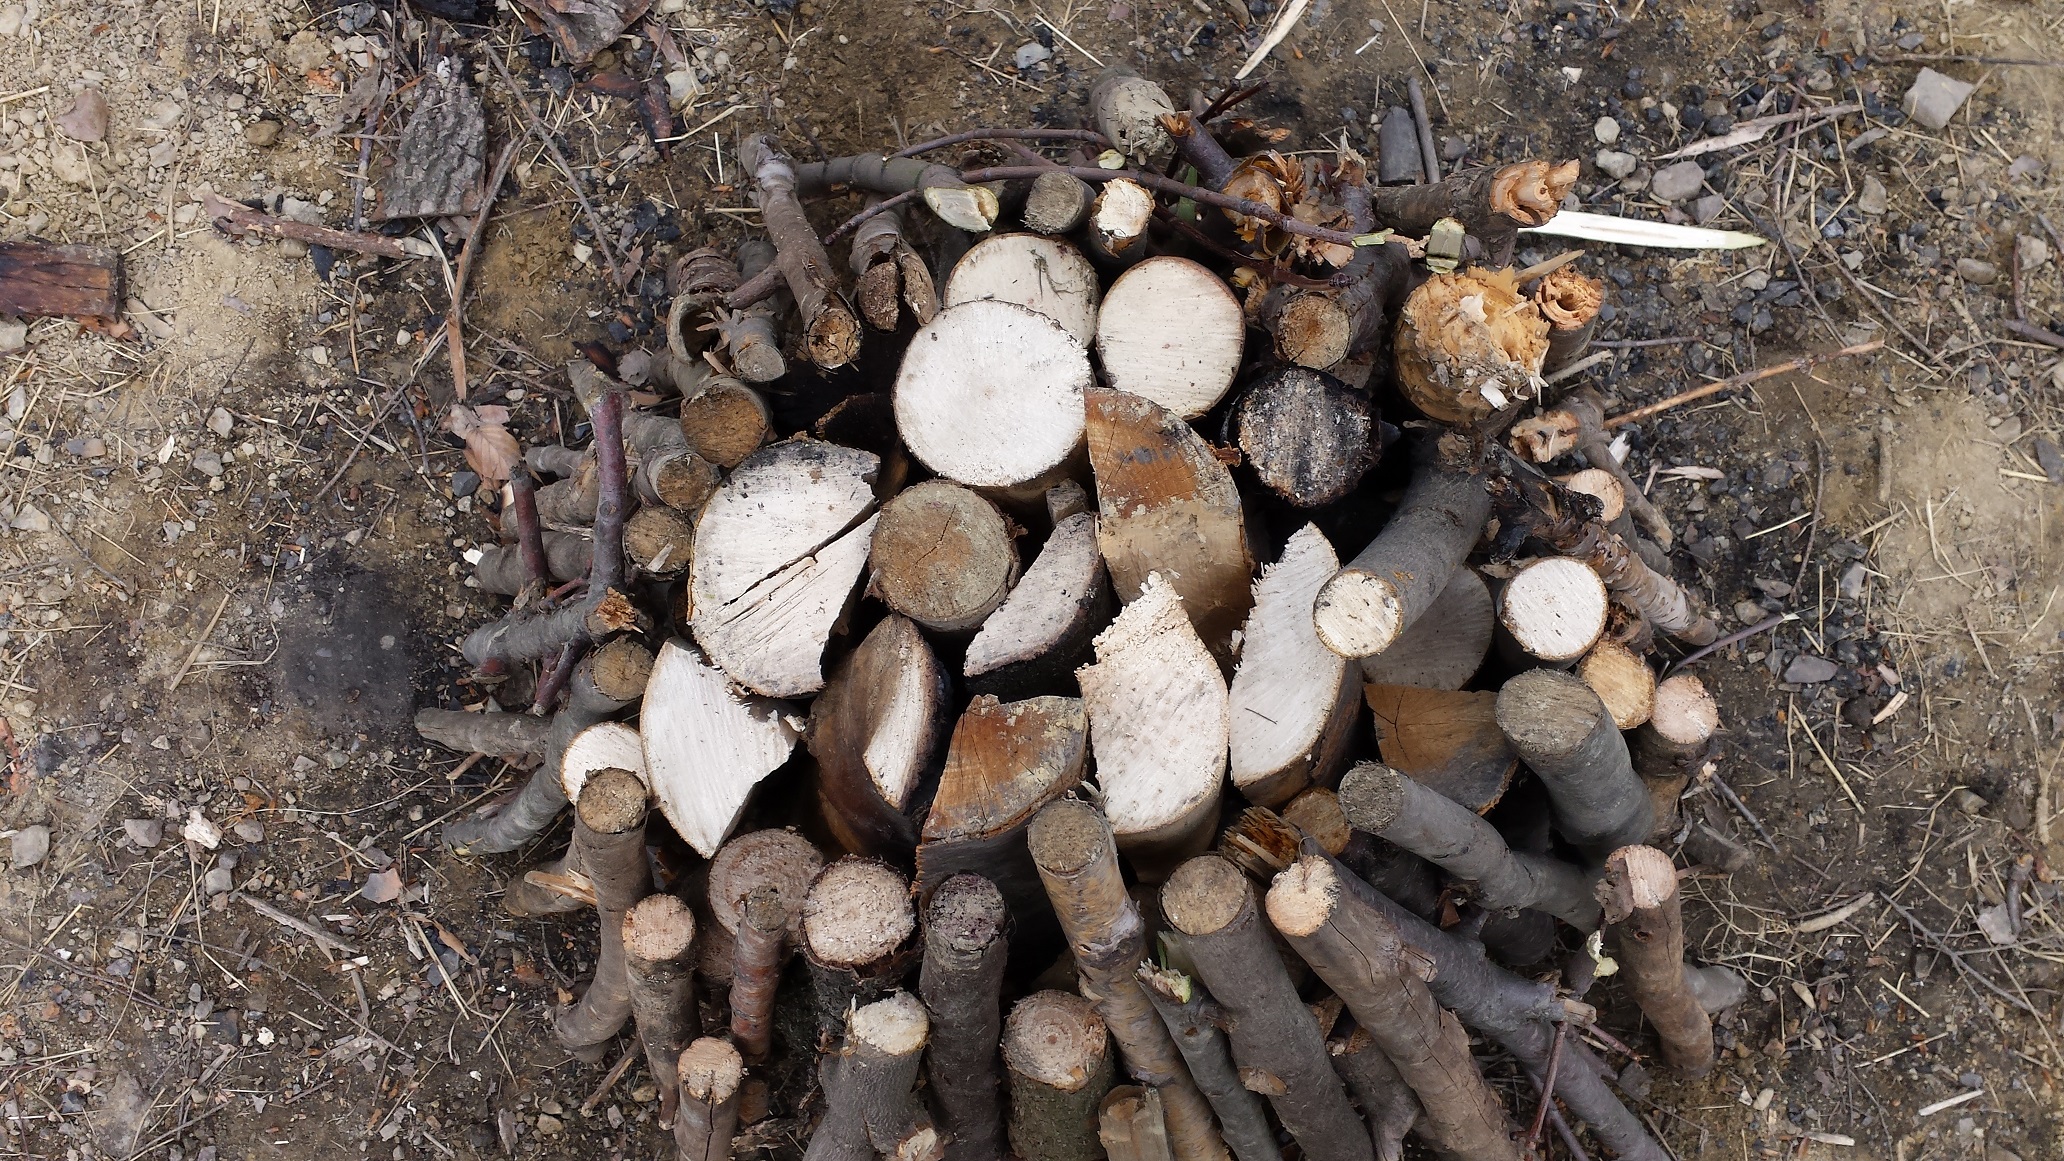
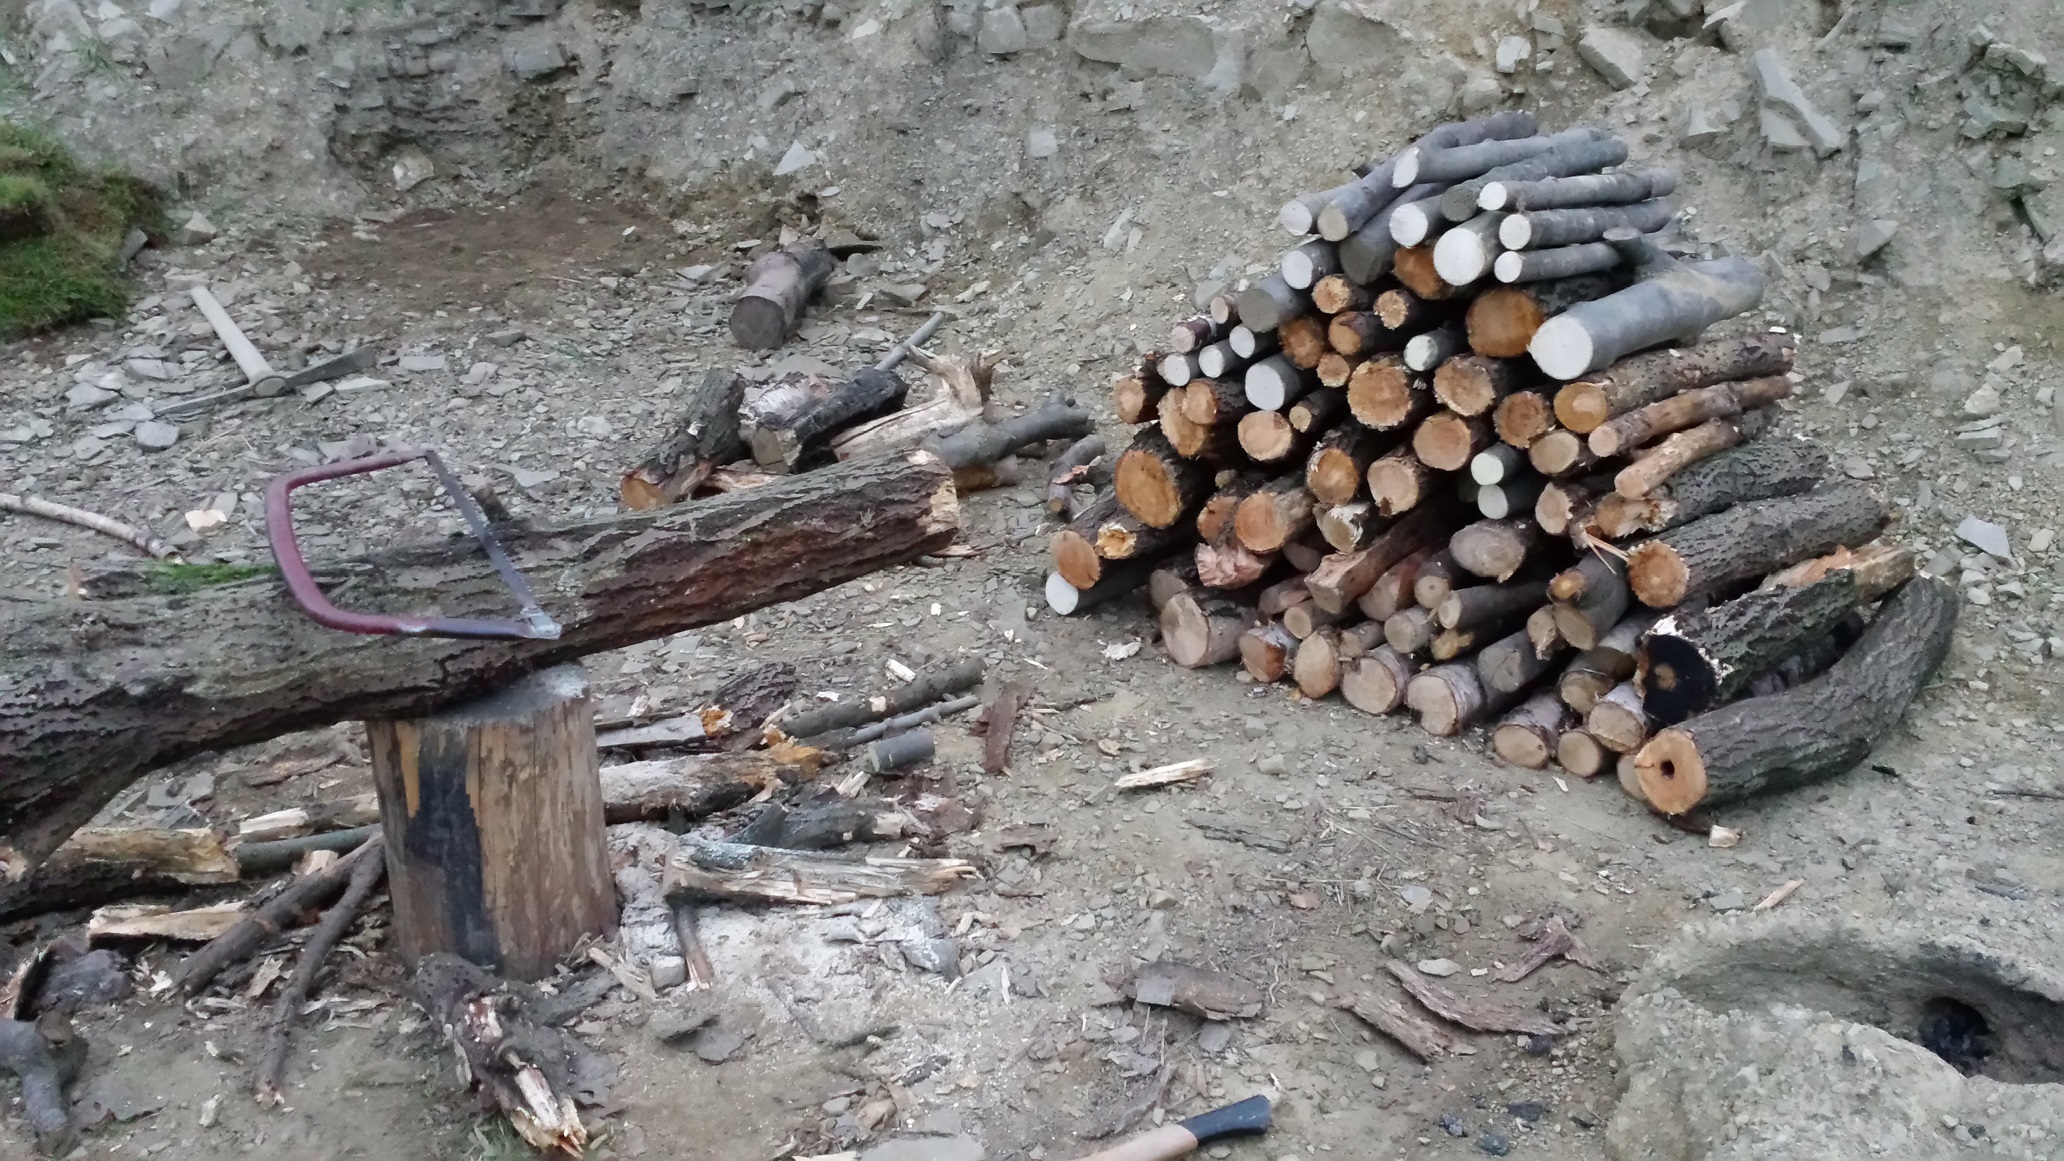
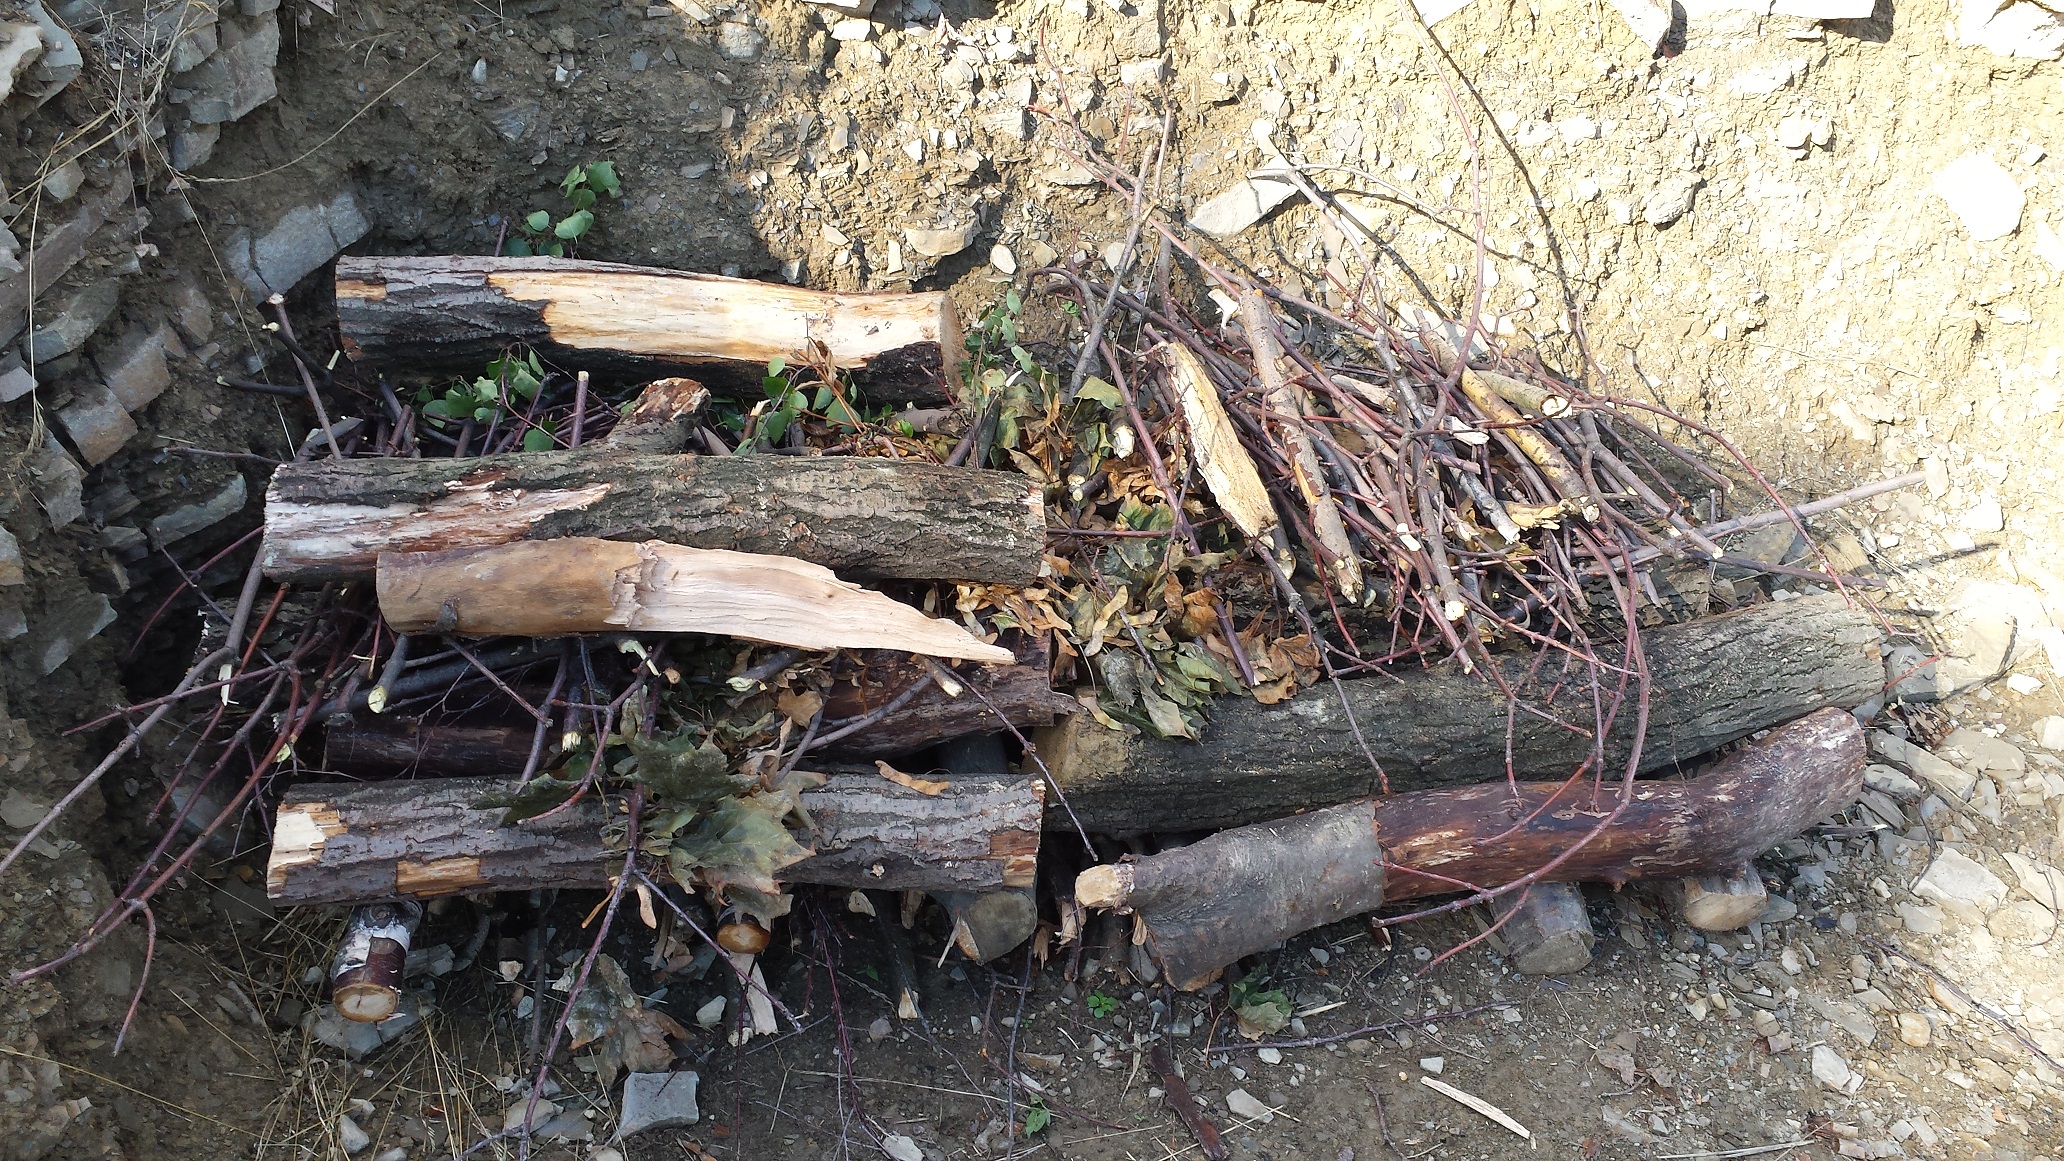
To be able to stack it up nicely for the burning, I cut it up into neat sections
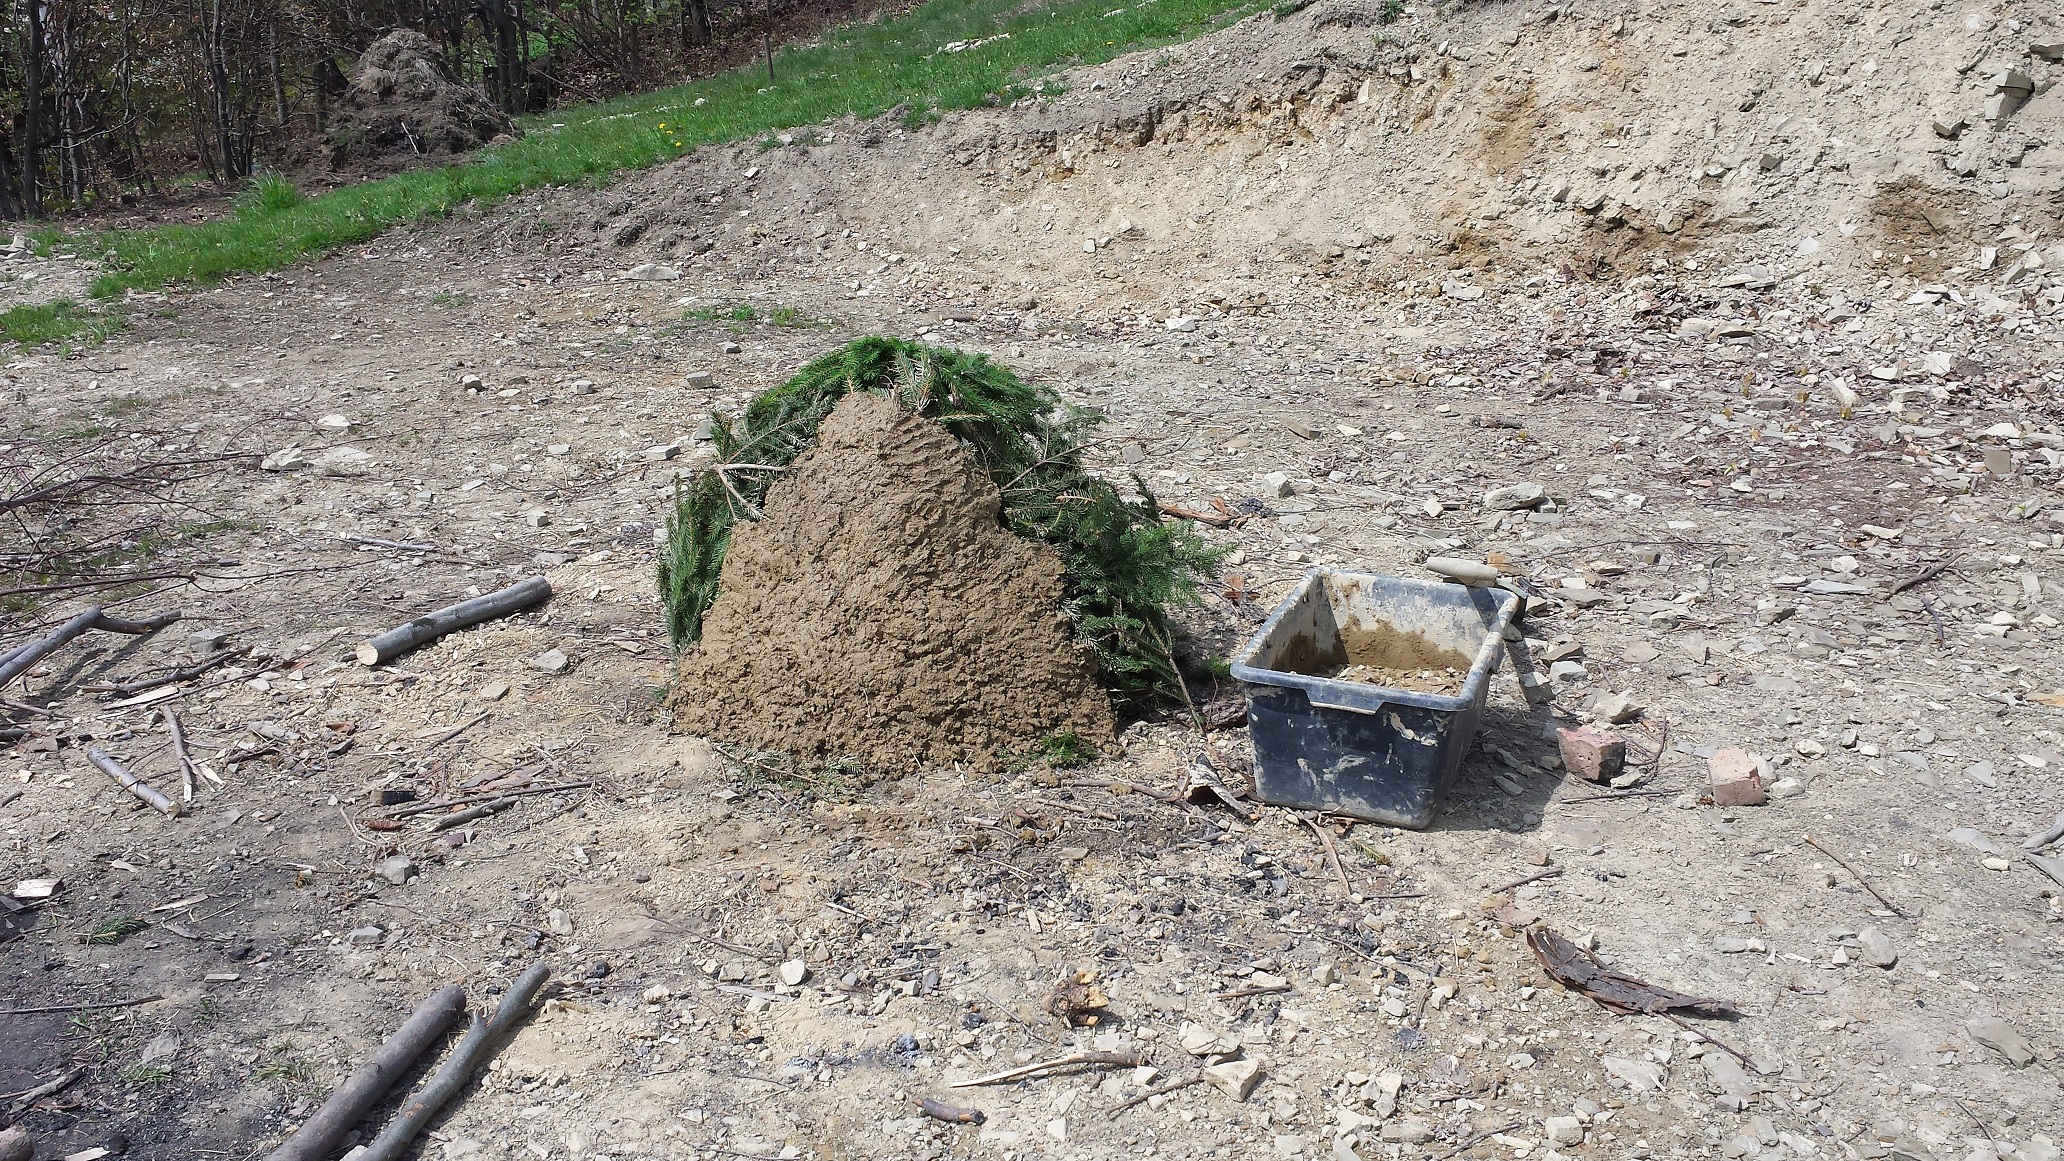
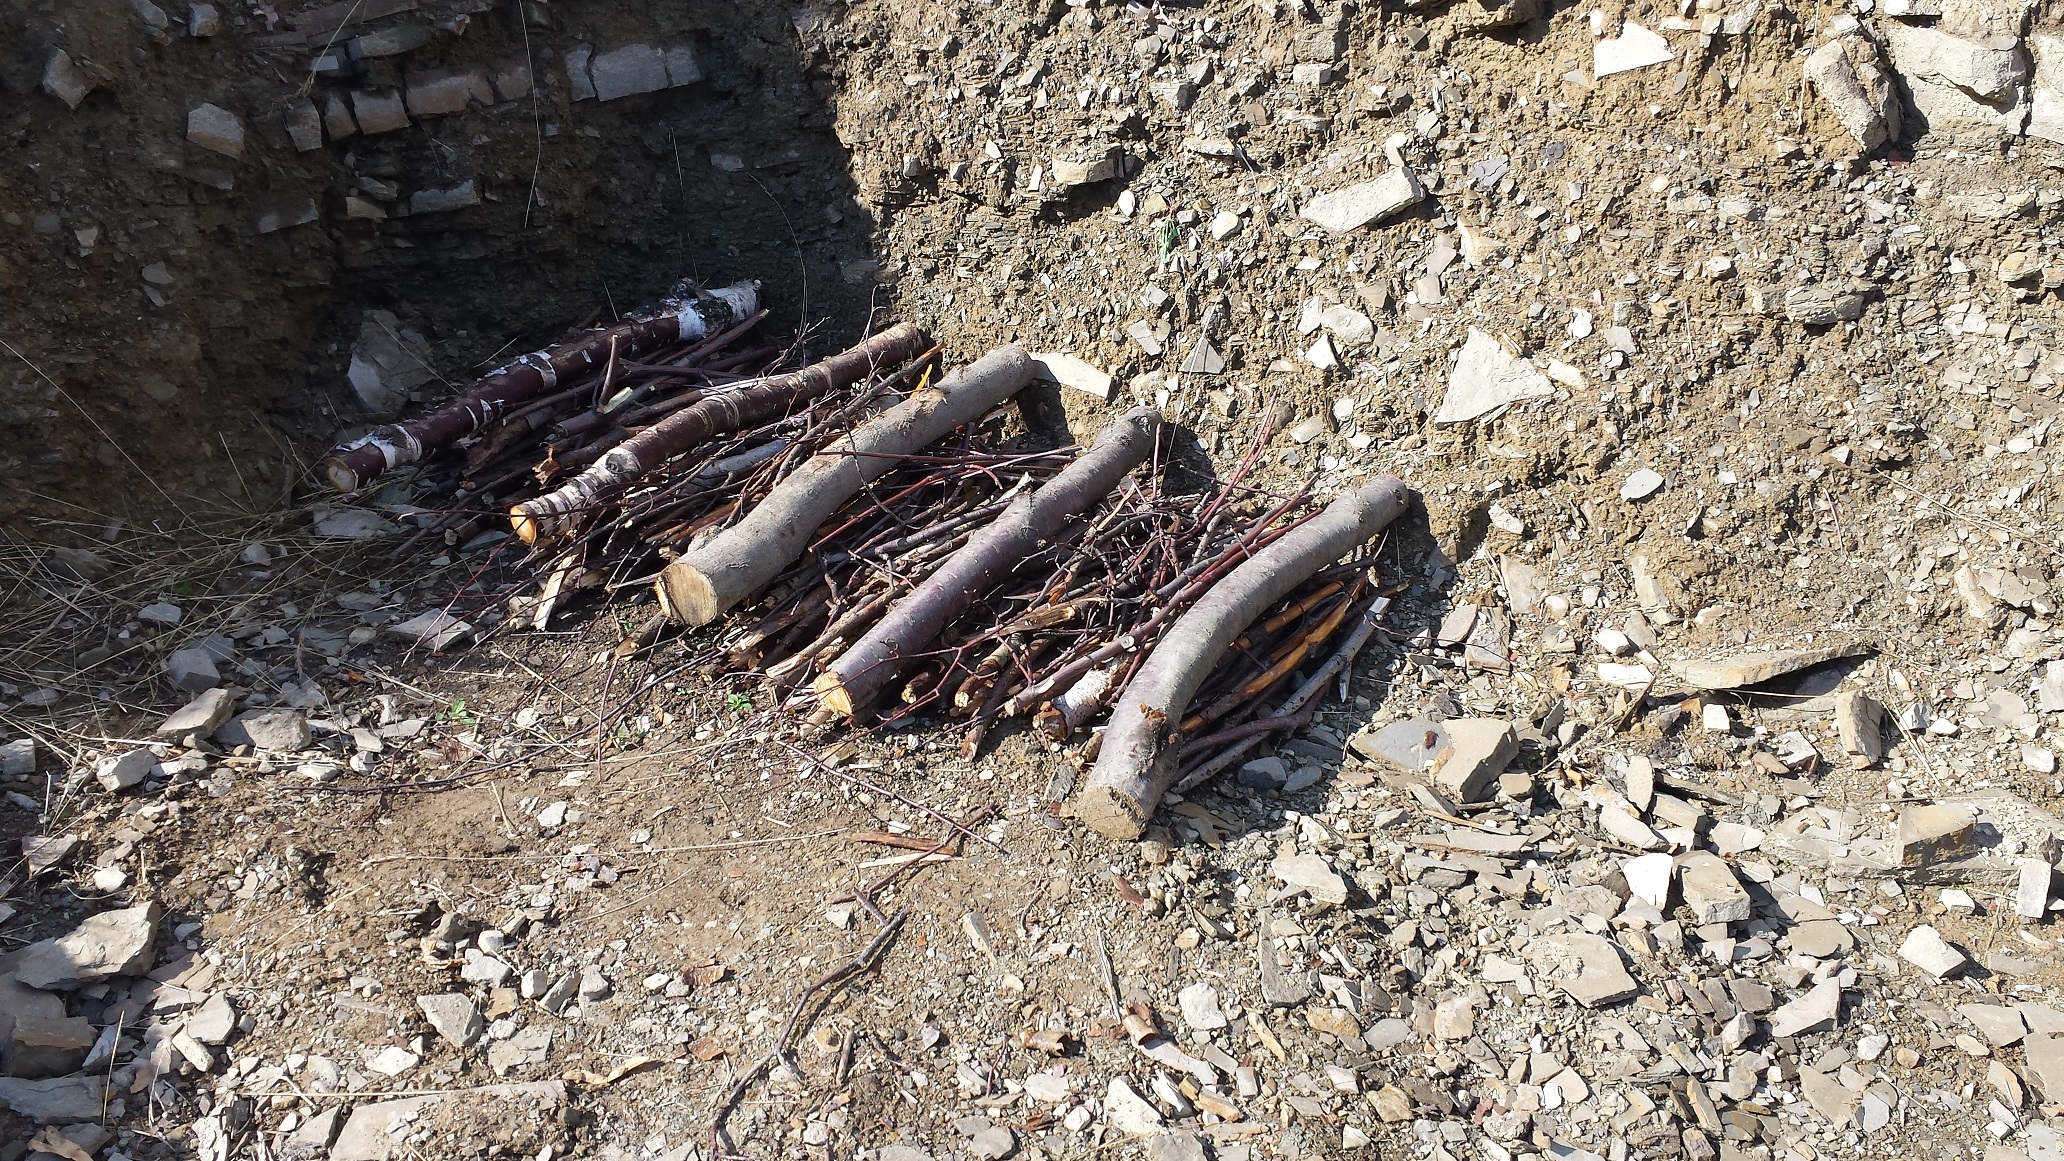
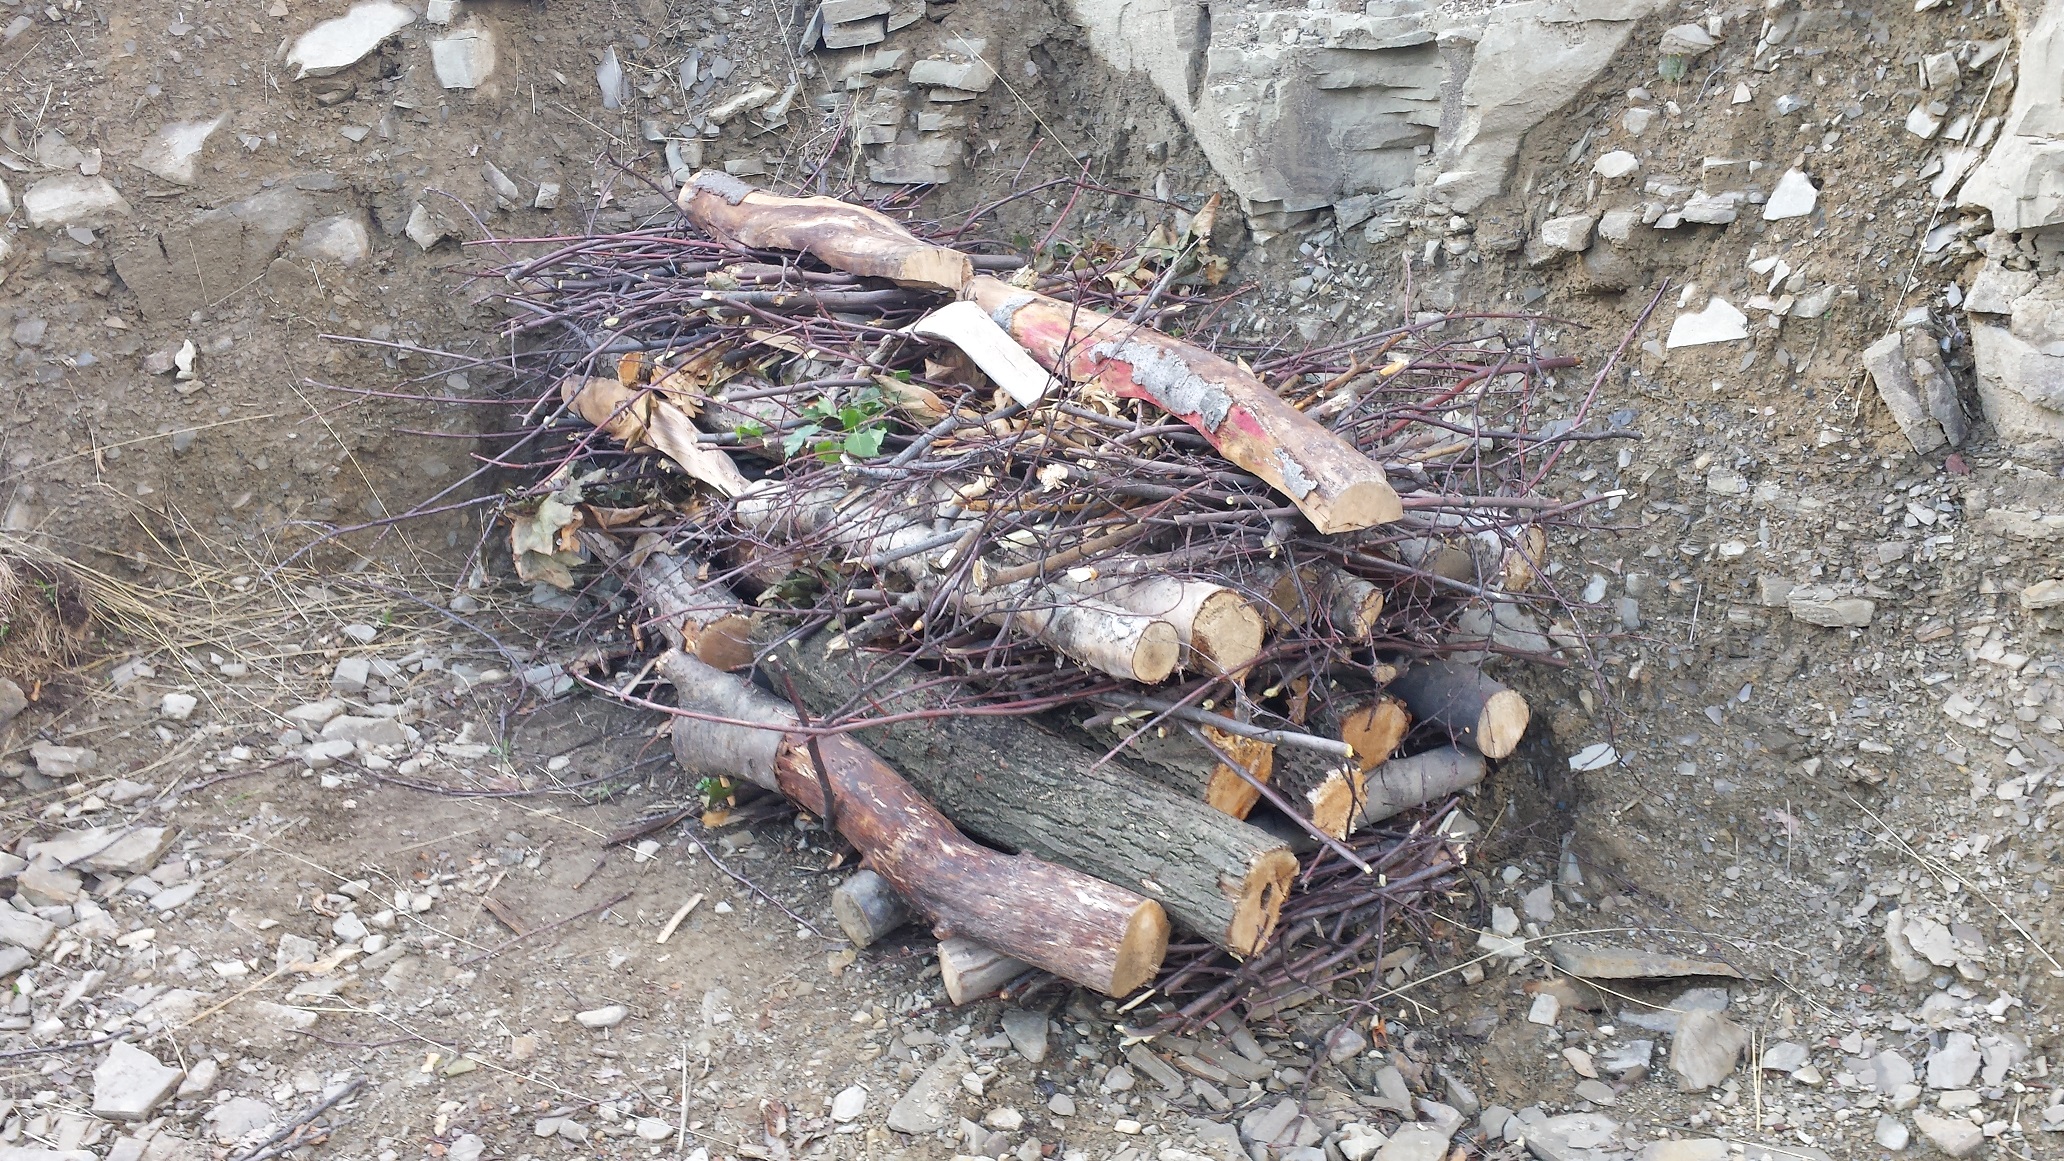
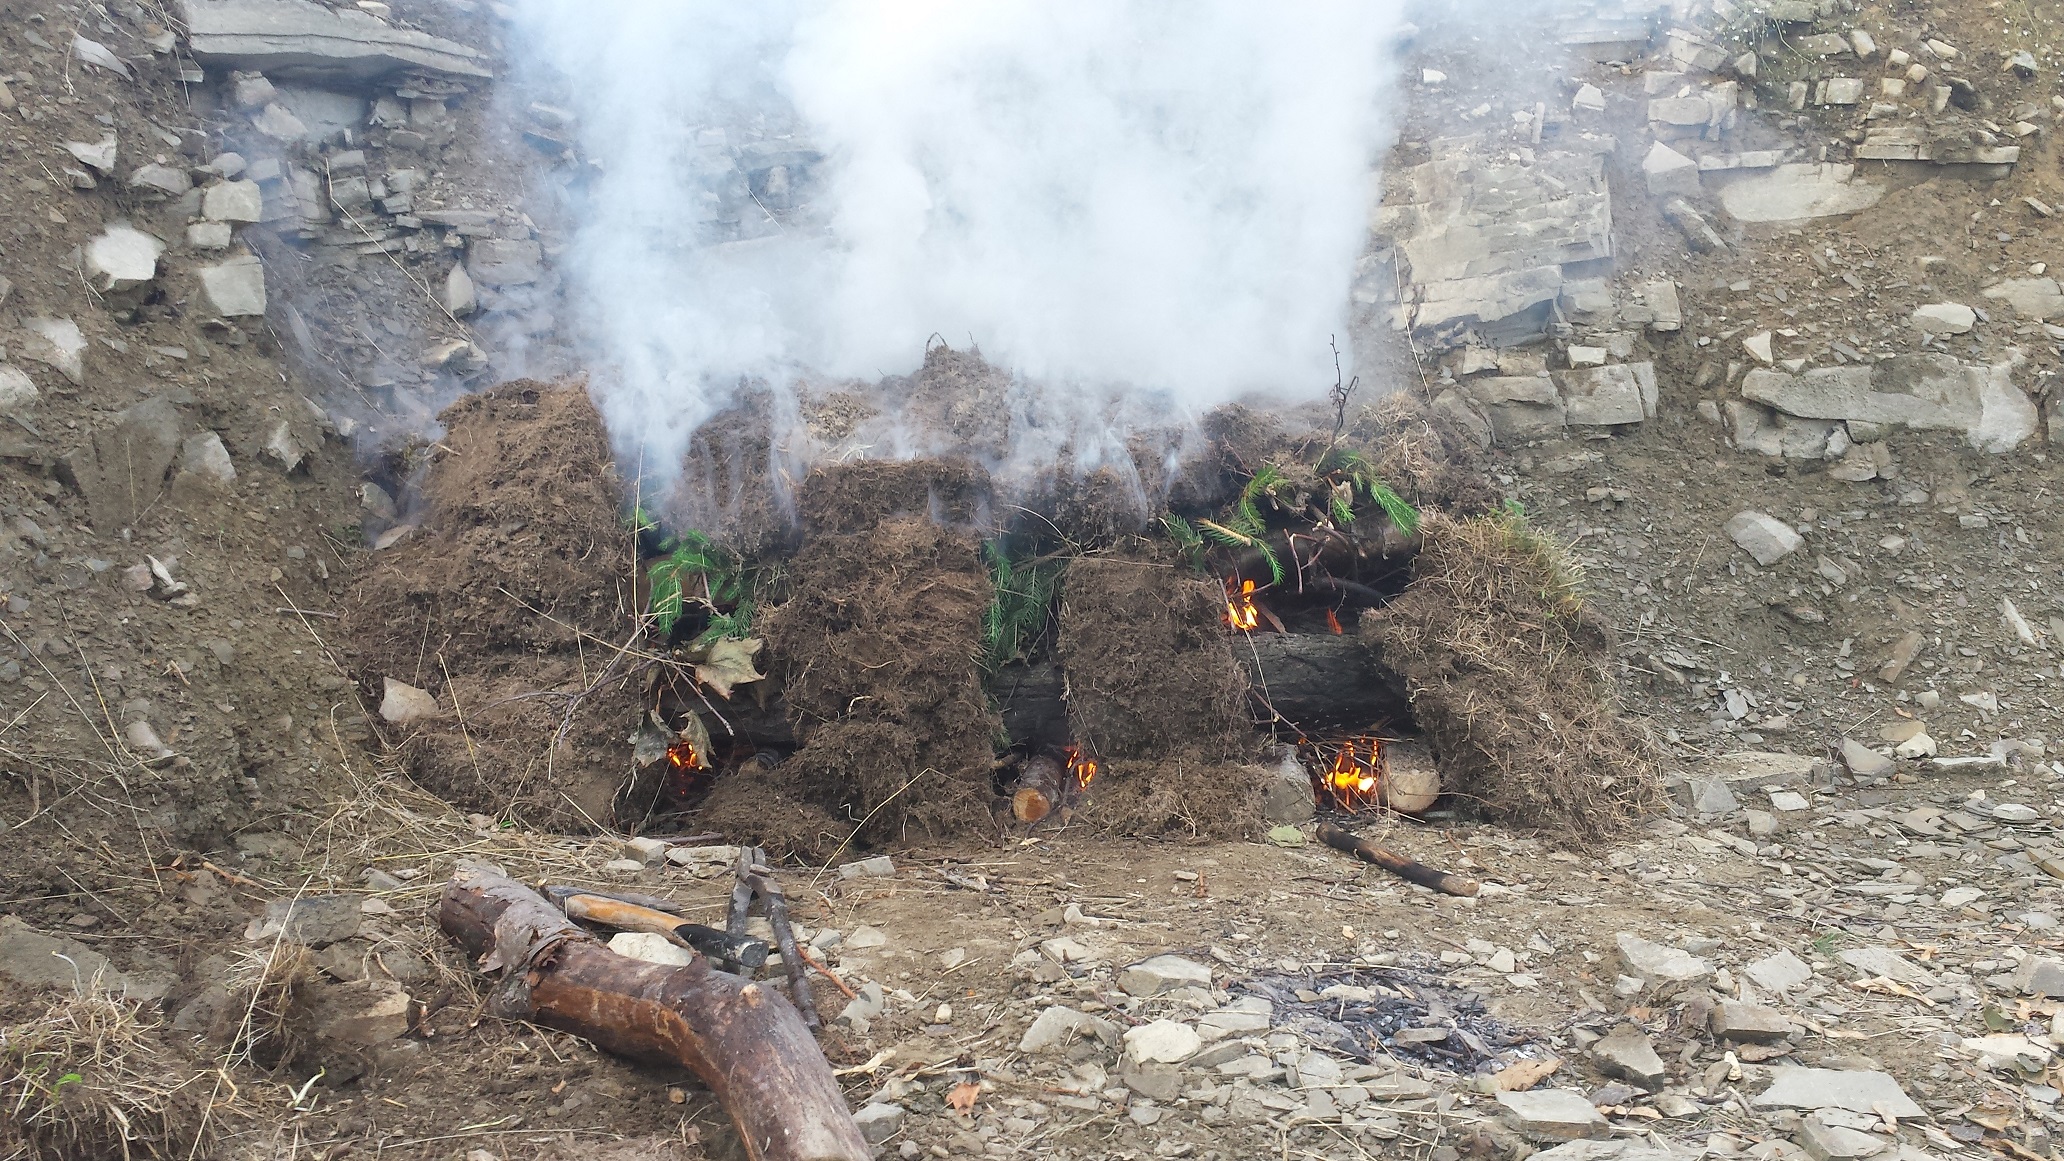
To limit the amount of covering material needed, I begin the stacking in a corner of an excavated area cutting into a hillside. Notice how I first spaced out the logs and used brush material and thin branches to later help me set the whole thing on fire. These twigs burning will produce the initial heat required for carburization of the big logs.
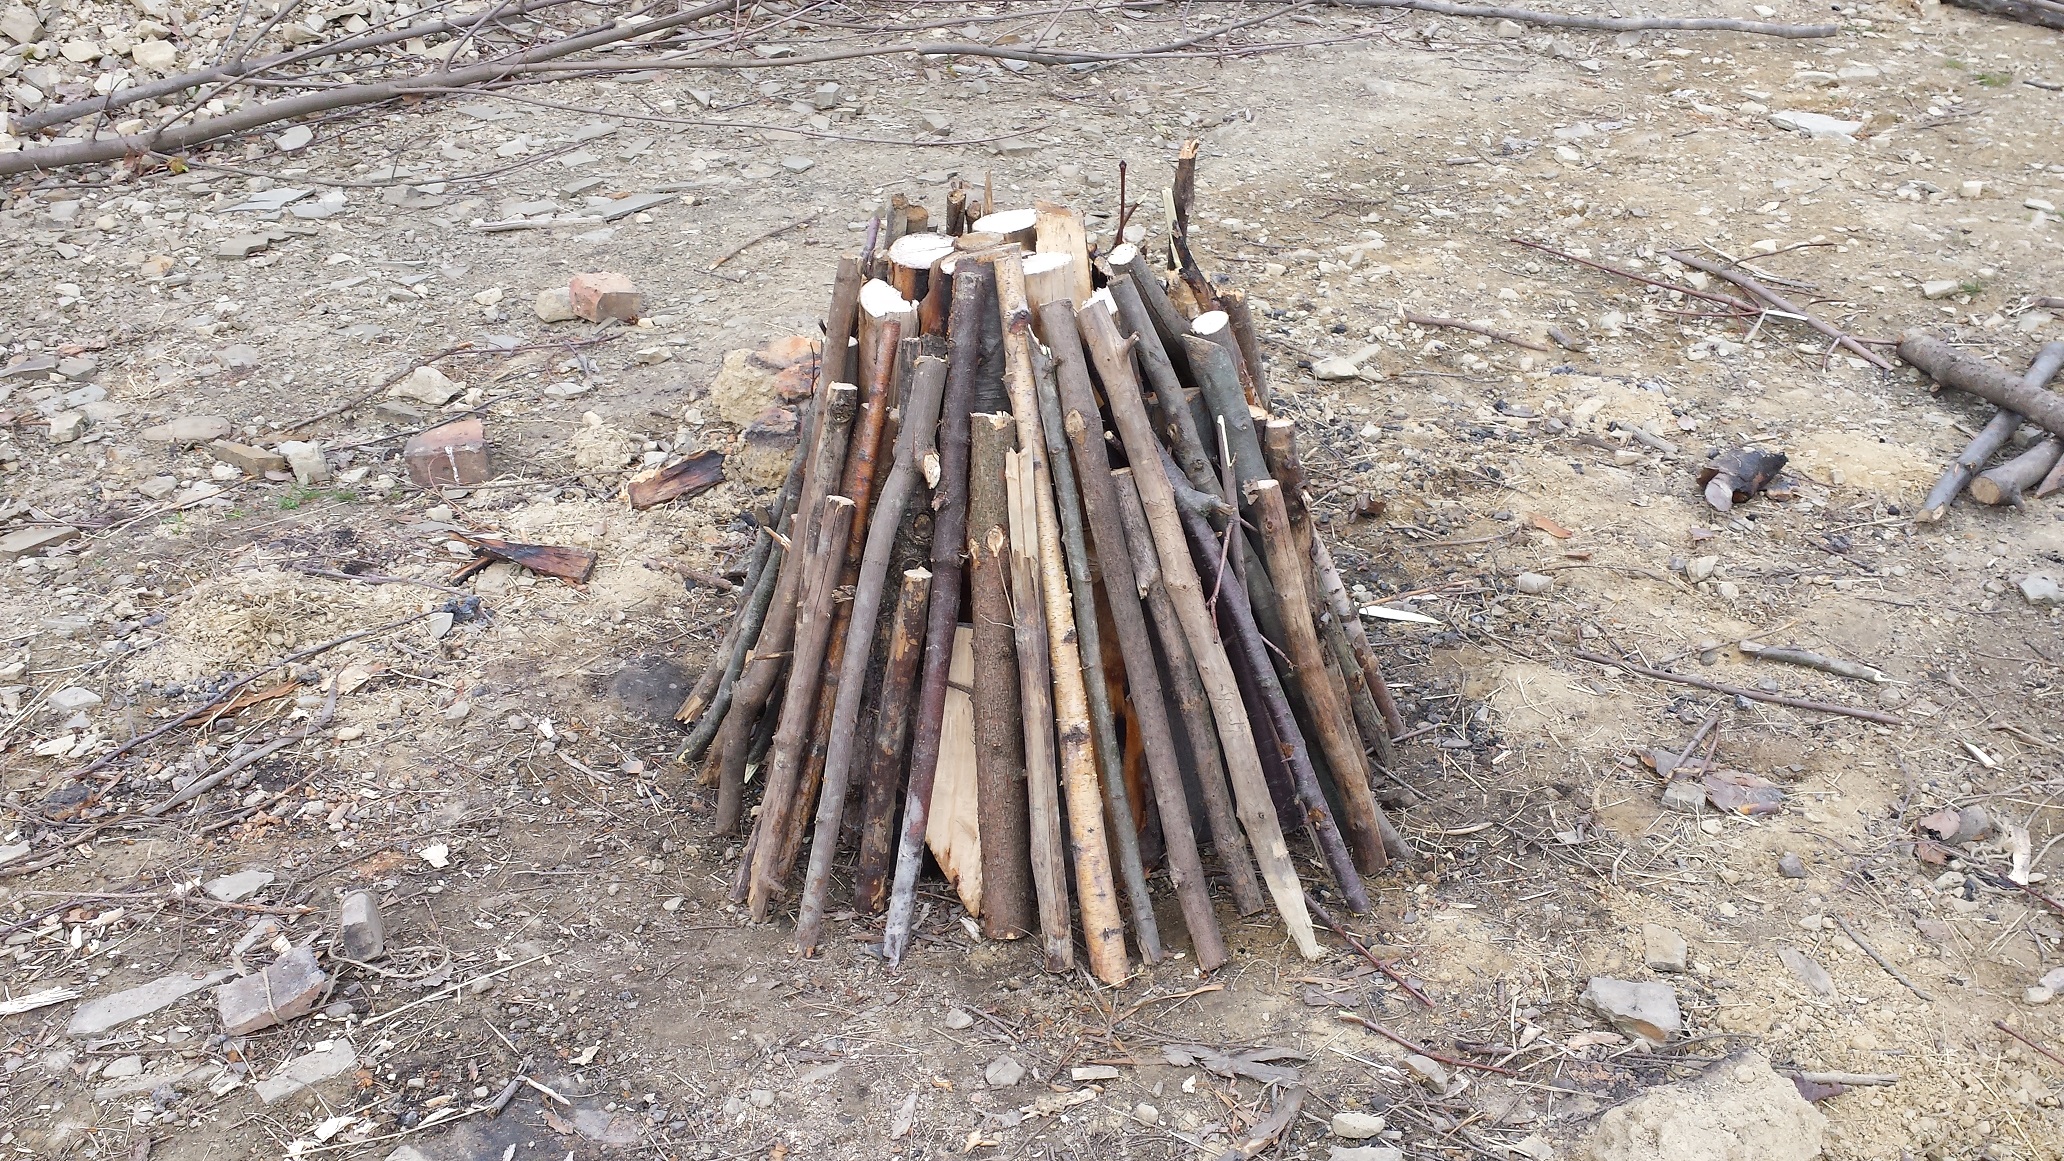
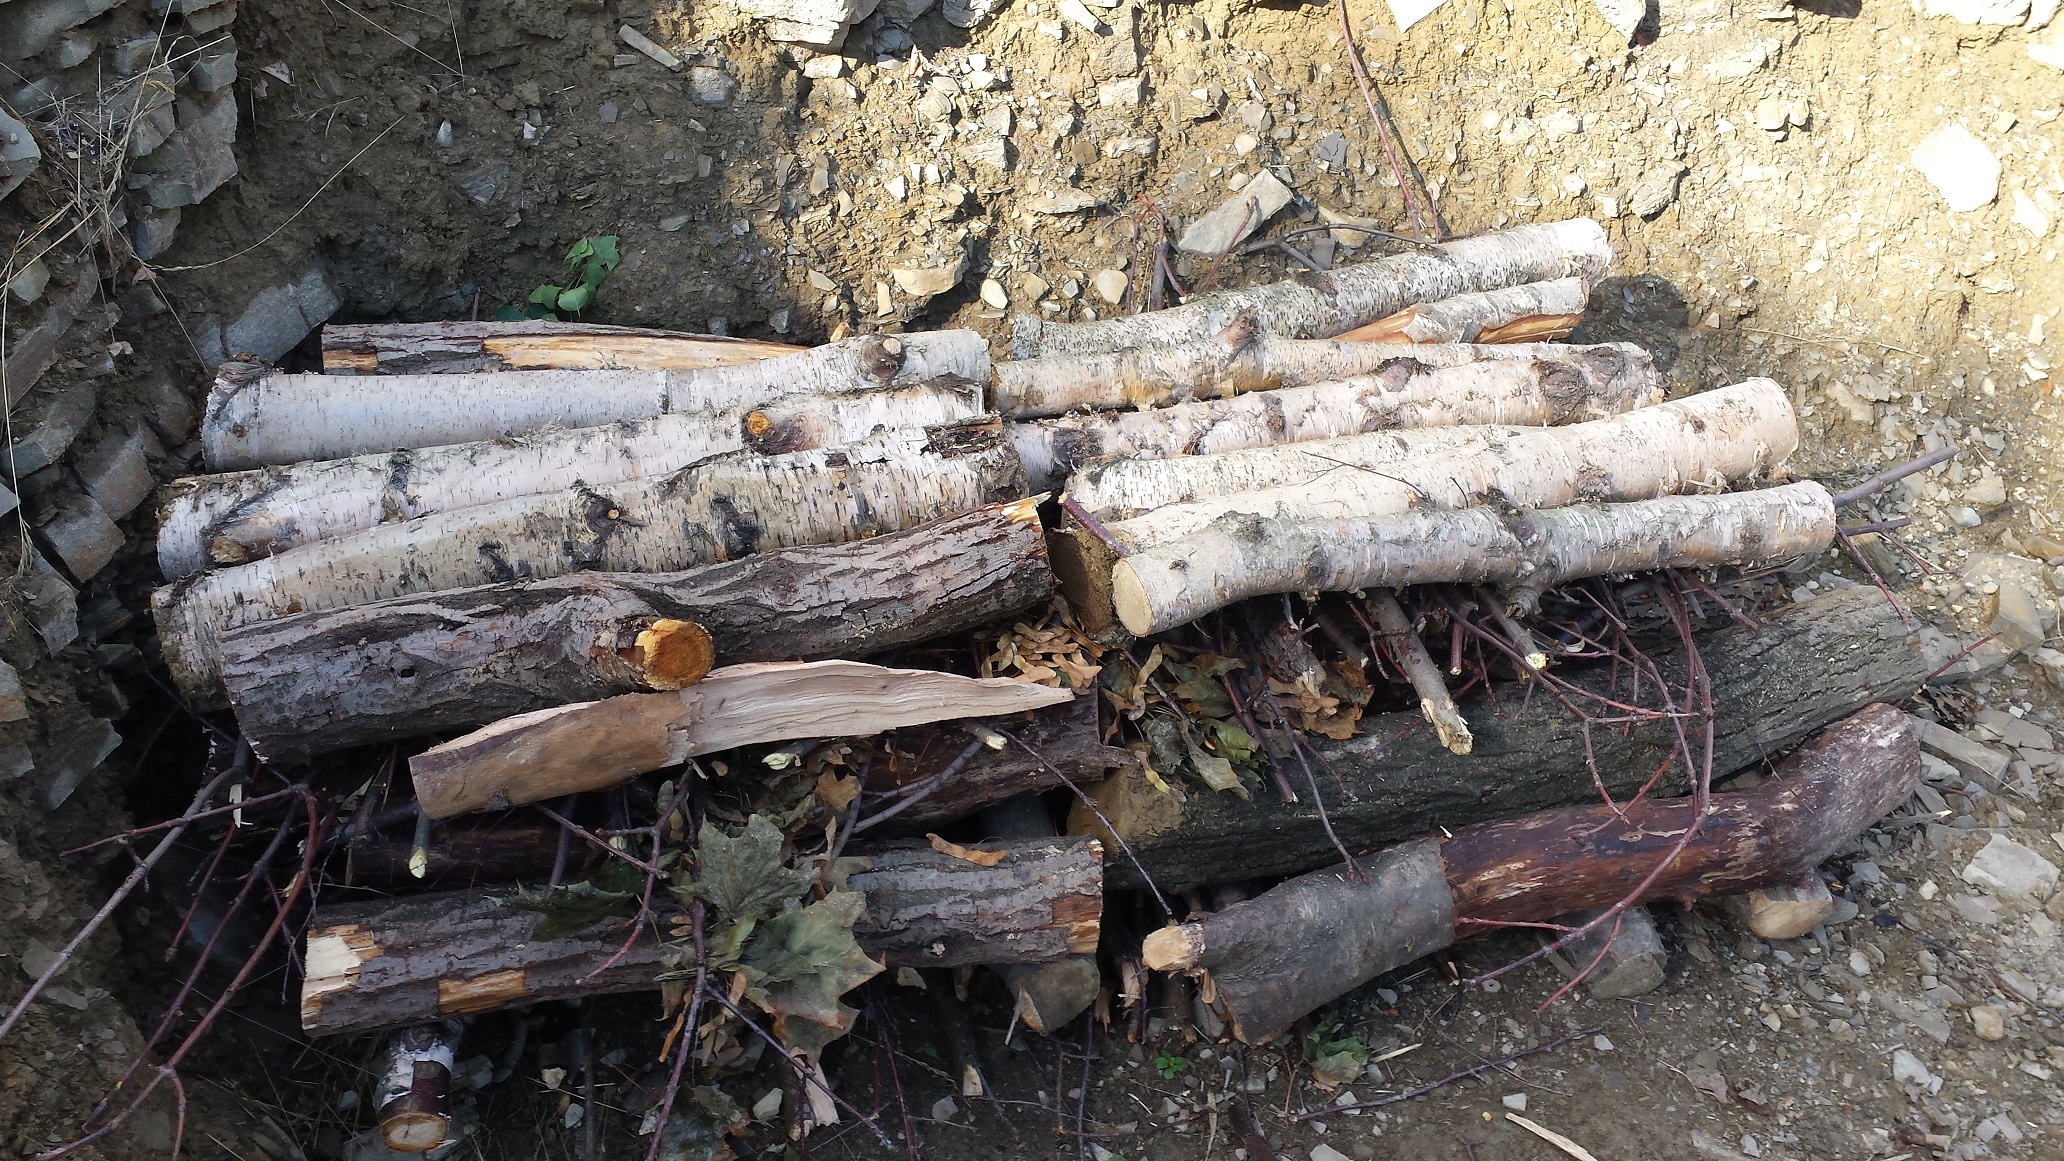
Now I put on a full layer of thick logs and then another layer of flammable brush.
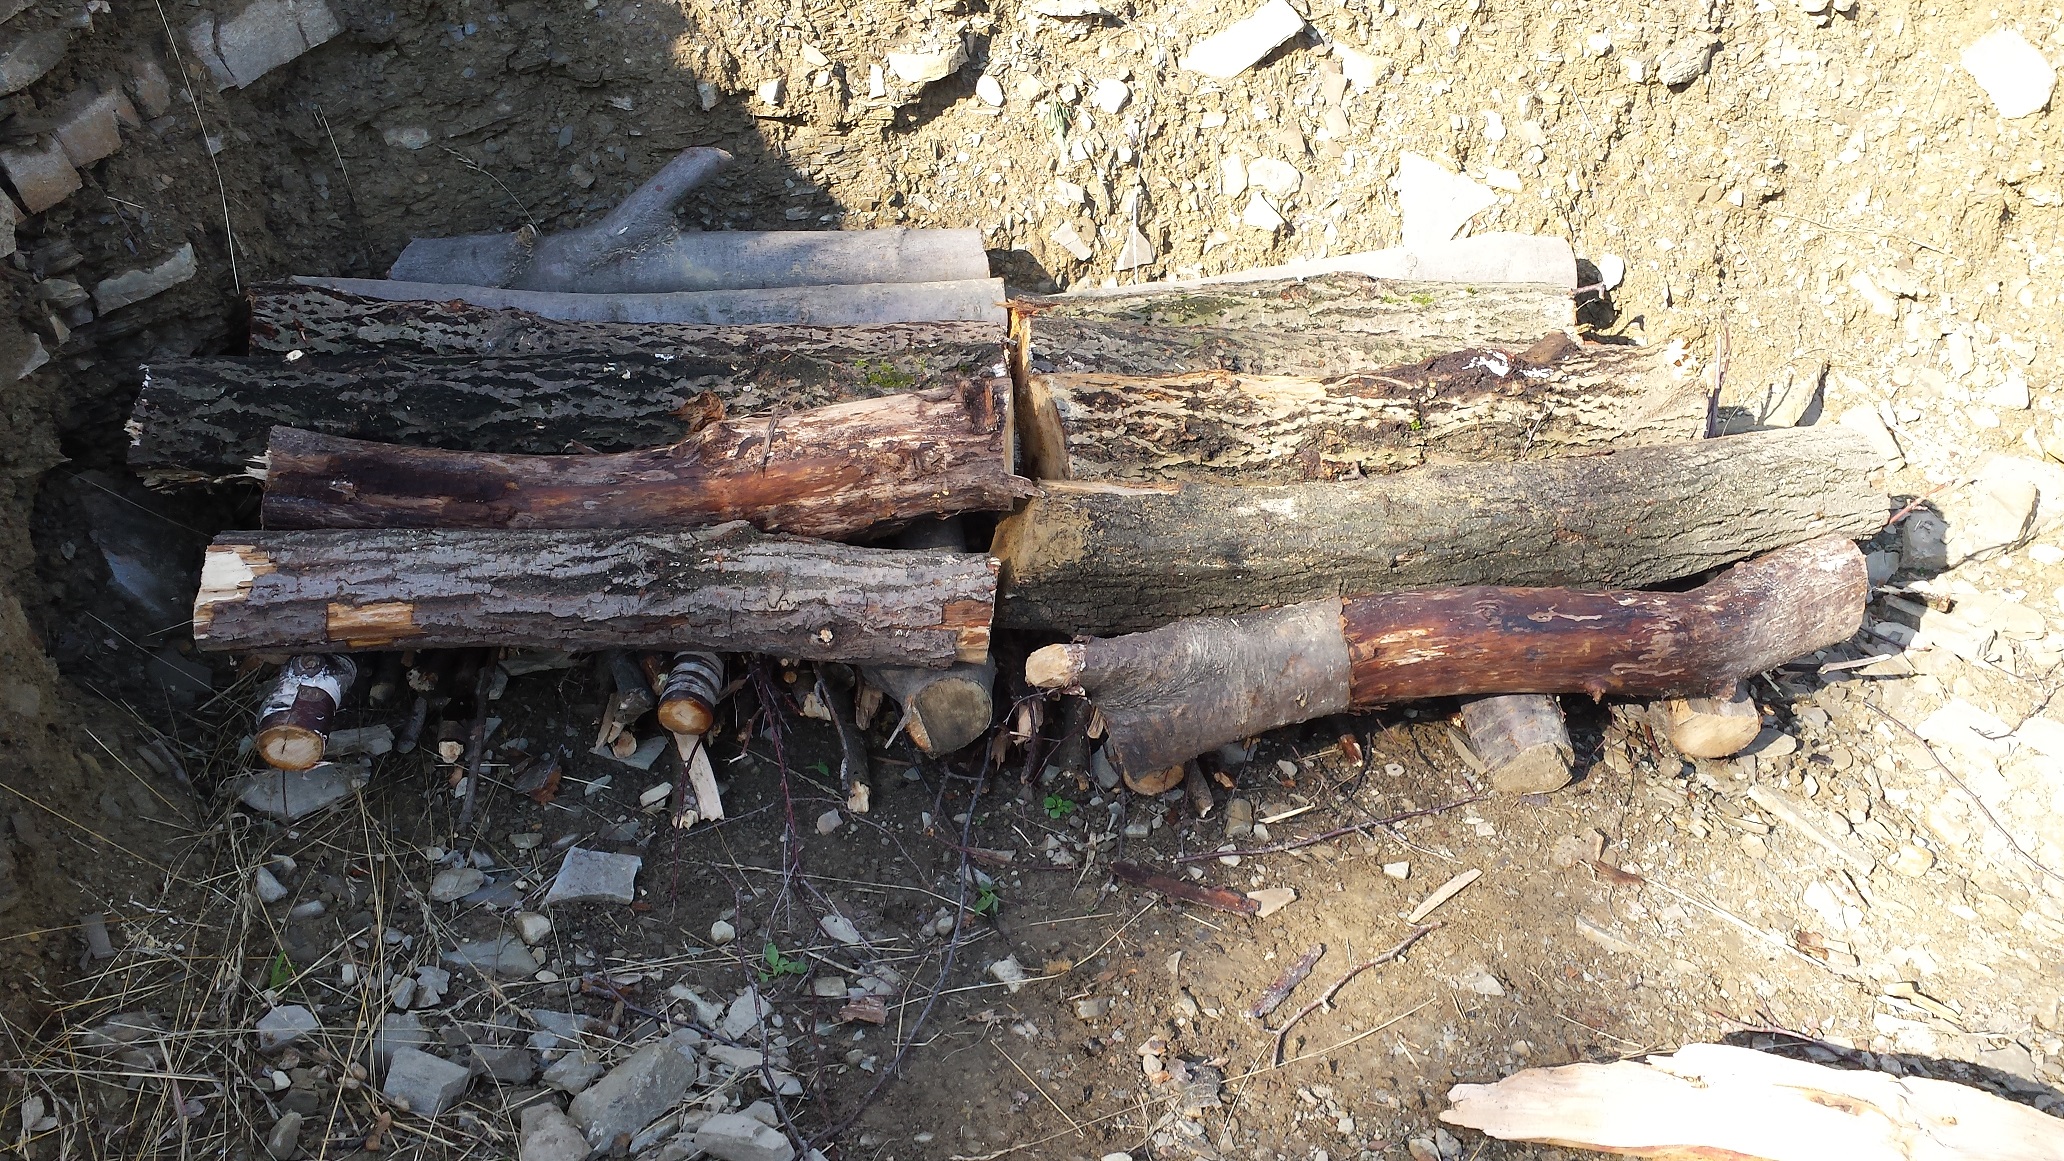
I repeat the process once again additing a layer of logs and twigs.
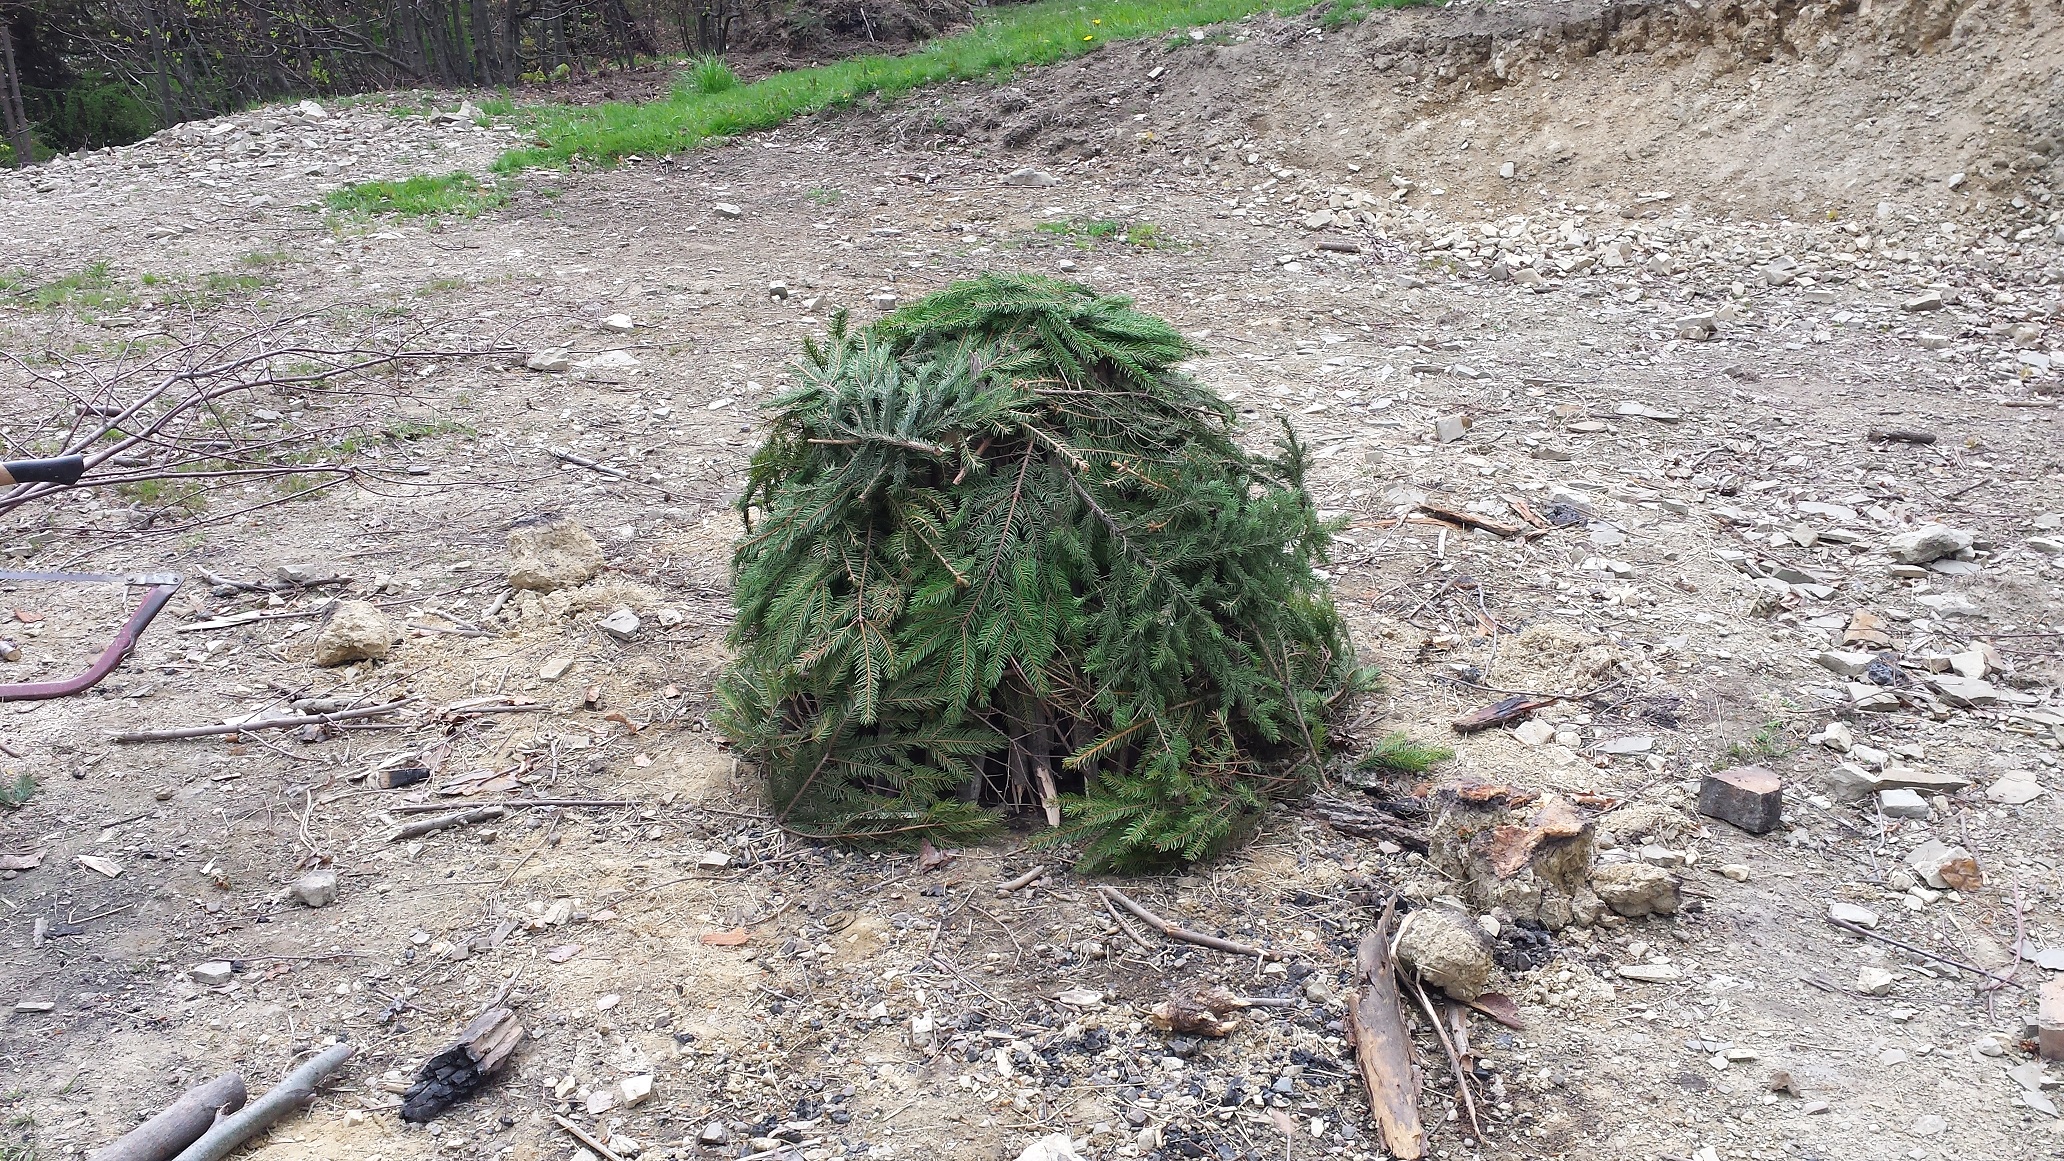
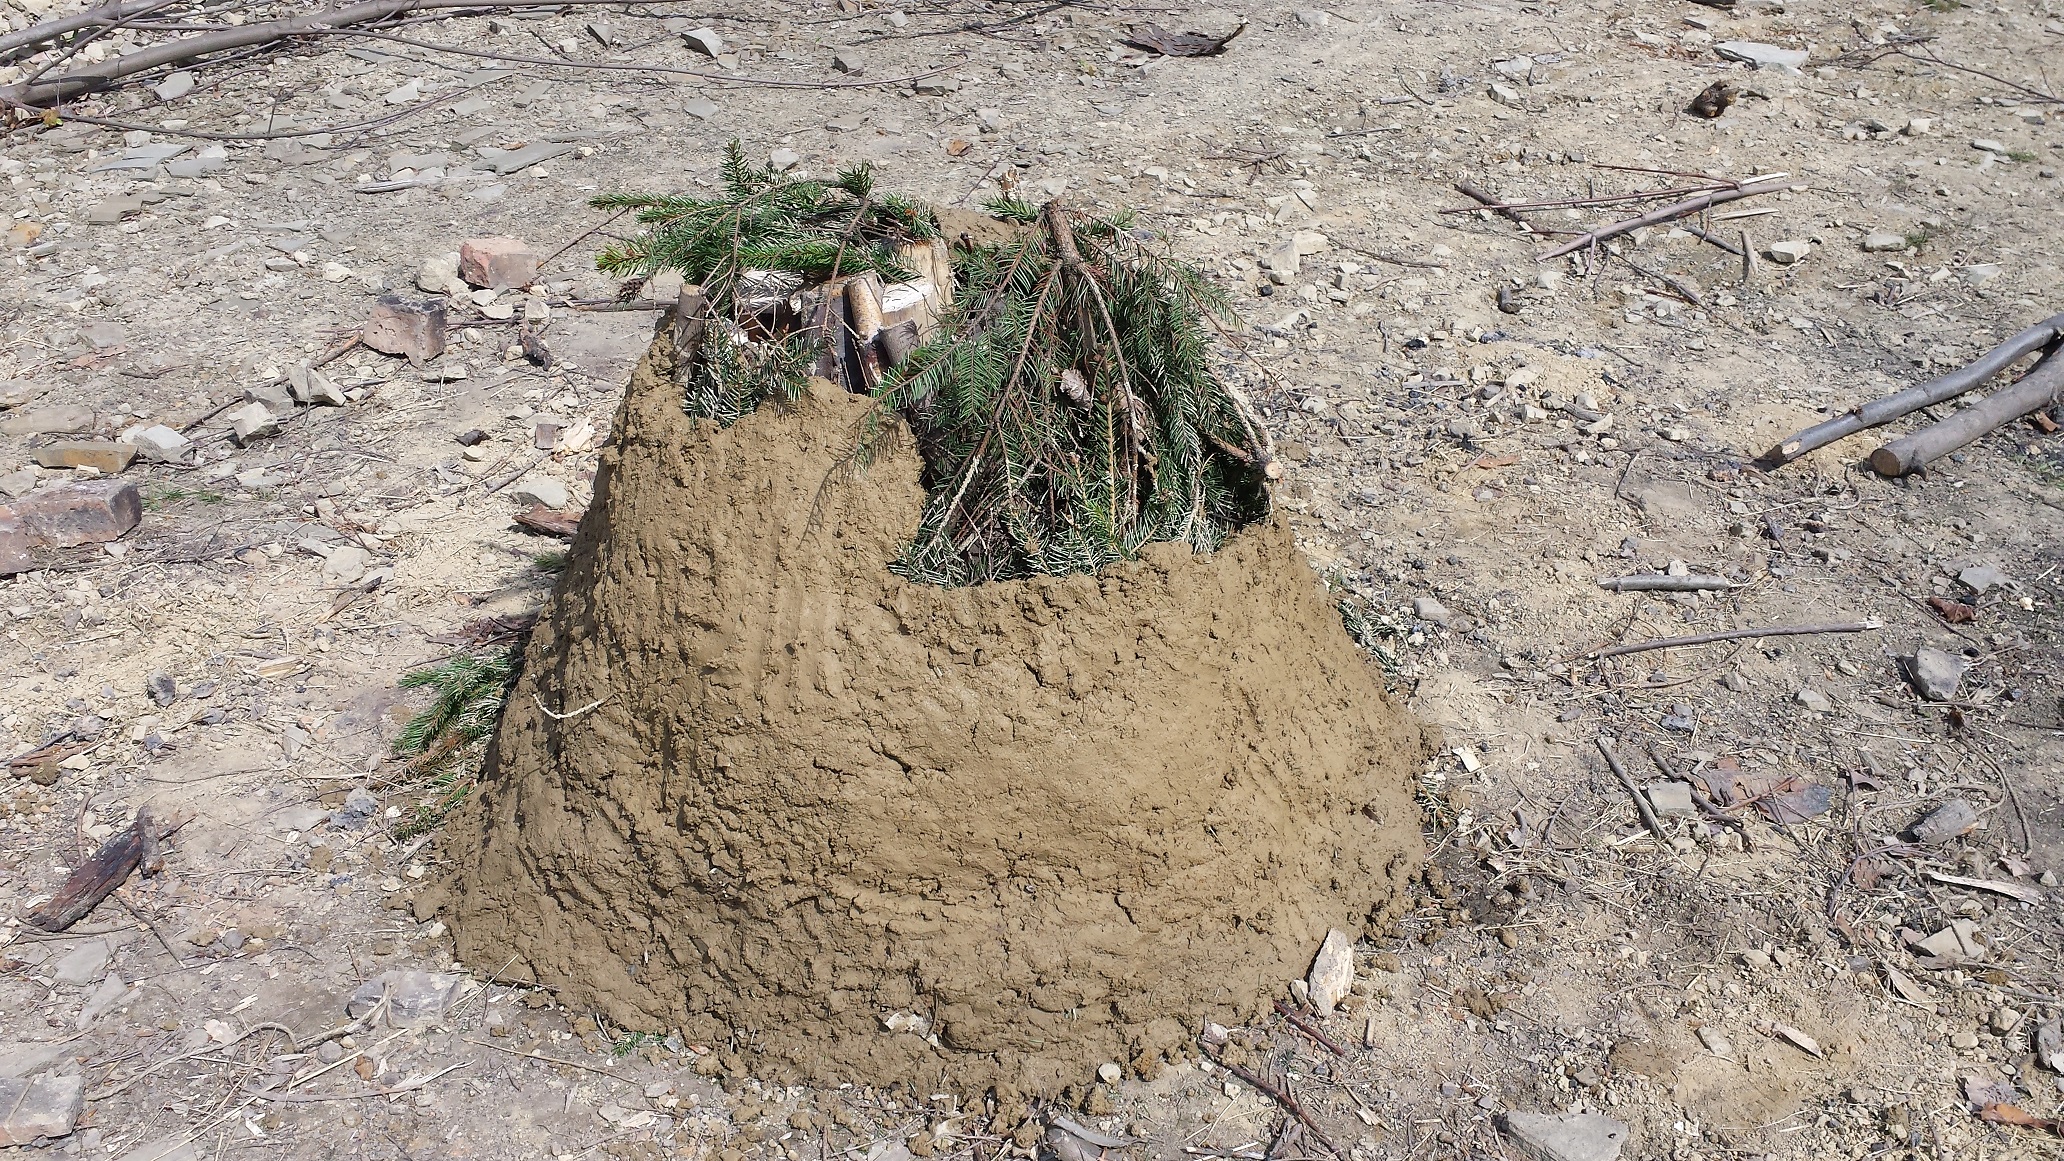
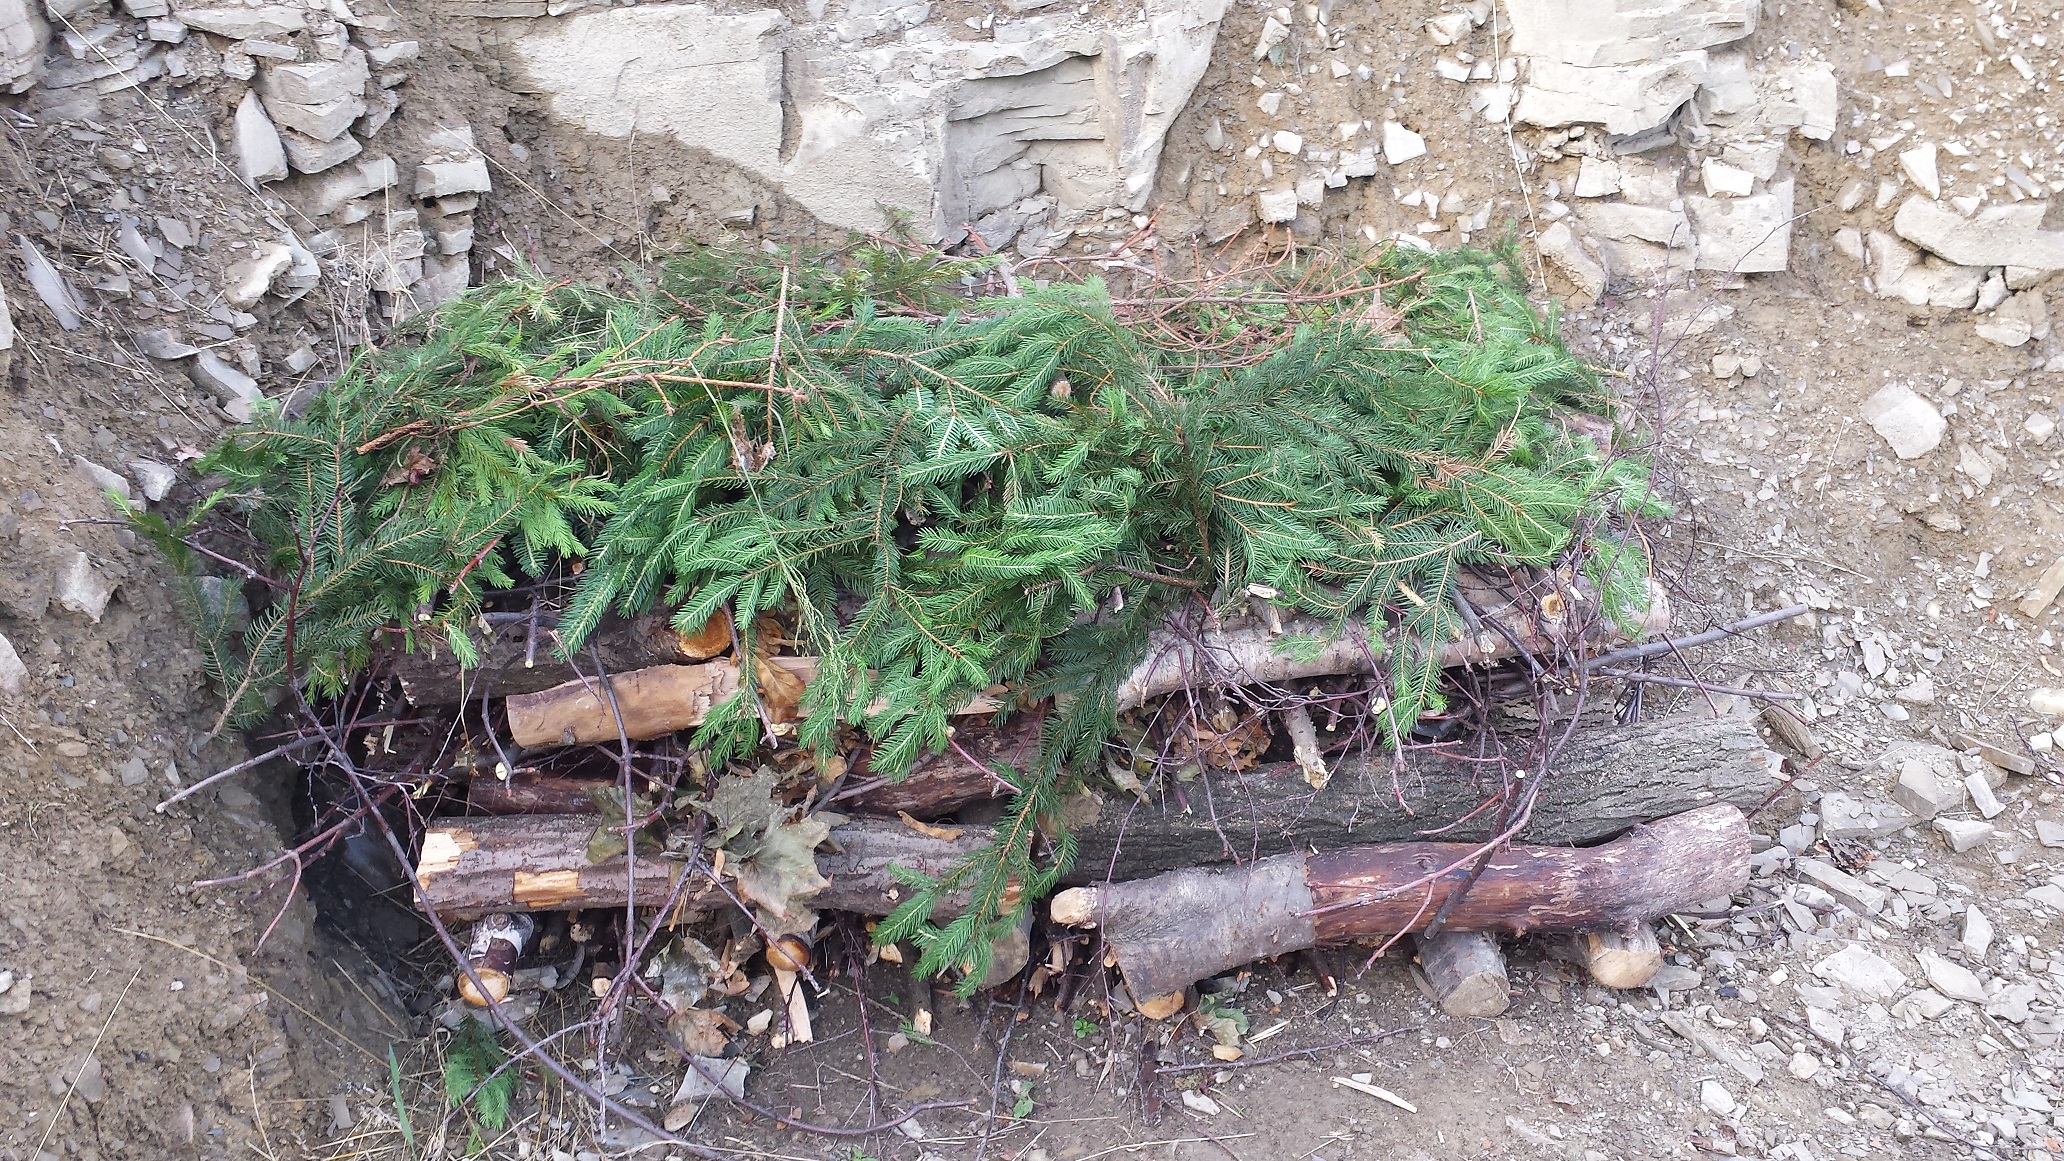
I top it off with some green spruce that will not burn immediately and so will help to support the structure and avoid any potentially disasterous “leaks” which could lead to too much air getting in and everything burning down to ashes.
Now I cover it tightly with turf and leave only three openings to light the fire in. These will, of course, be covered up later. I light the fire and let it burn for a while. I do not cover up every hole immediately, I wait for it to build sufficient temperature. Due to the turf cover, the whole mound acts like a furnace with a definite draft, which helps tremendously to spread the fire inside.
After the fire has built up sufficient energy, I close all the holes (air can still get to the fire through cracks though, important if you’re using an airtight container. You need air, just not too much of it) The draft works so well that I cannot believe my eyes how well it actually burns, provided how wet and thick the wood was.
Use dry wood, friends. Or you will end up with this: I call this photo “The Last Ray of the Sun”
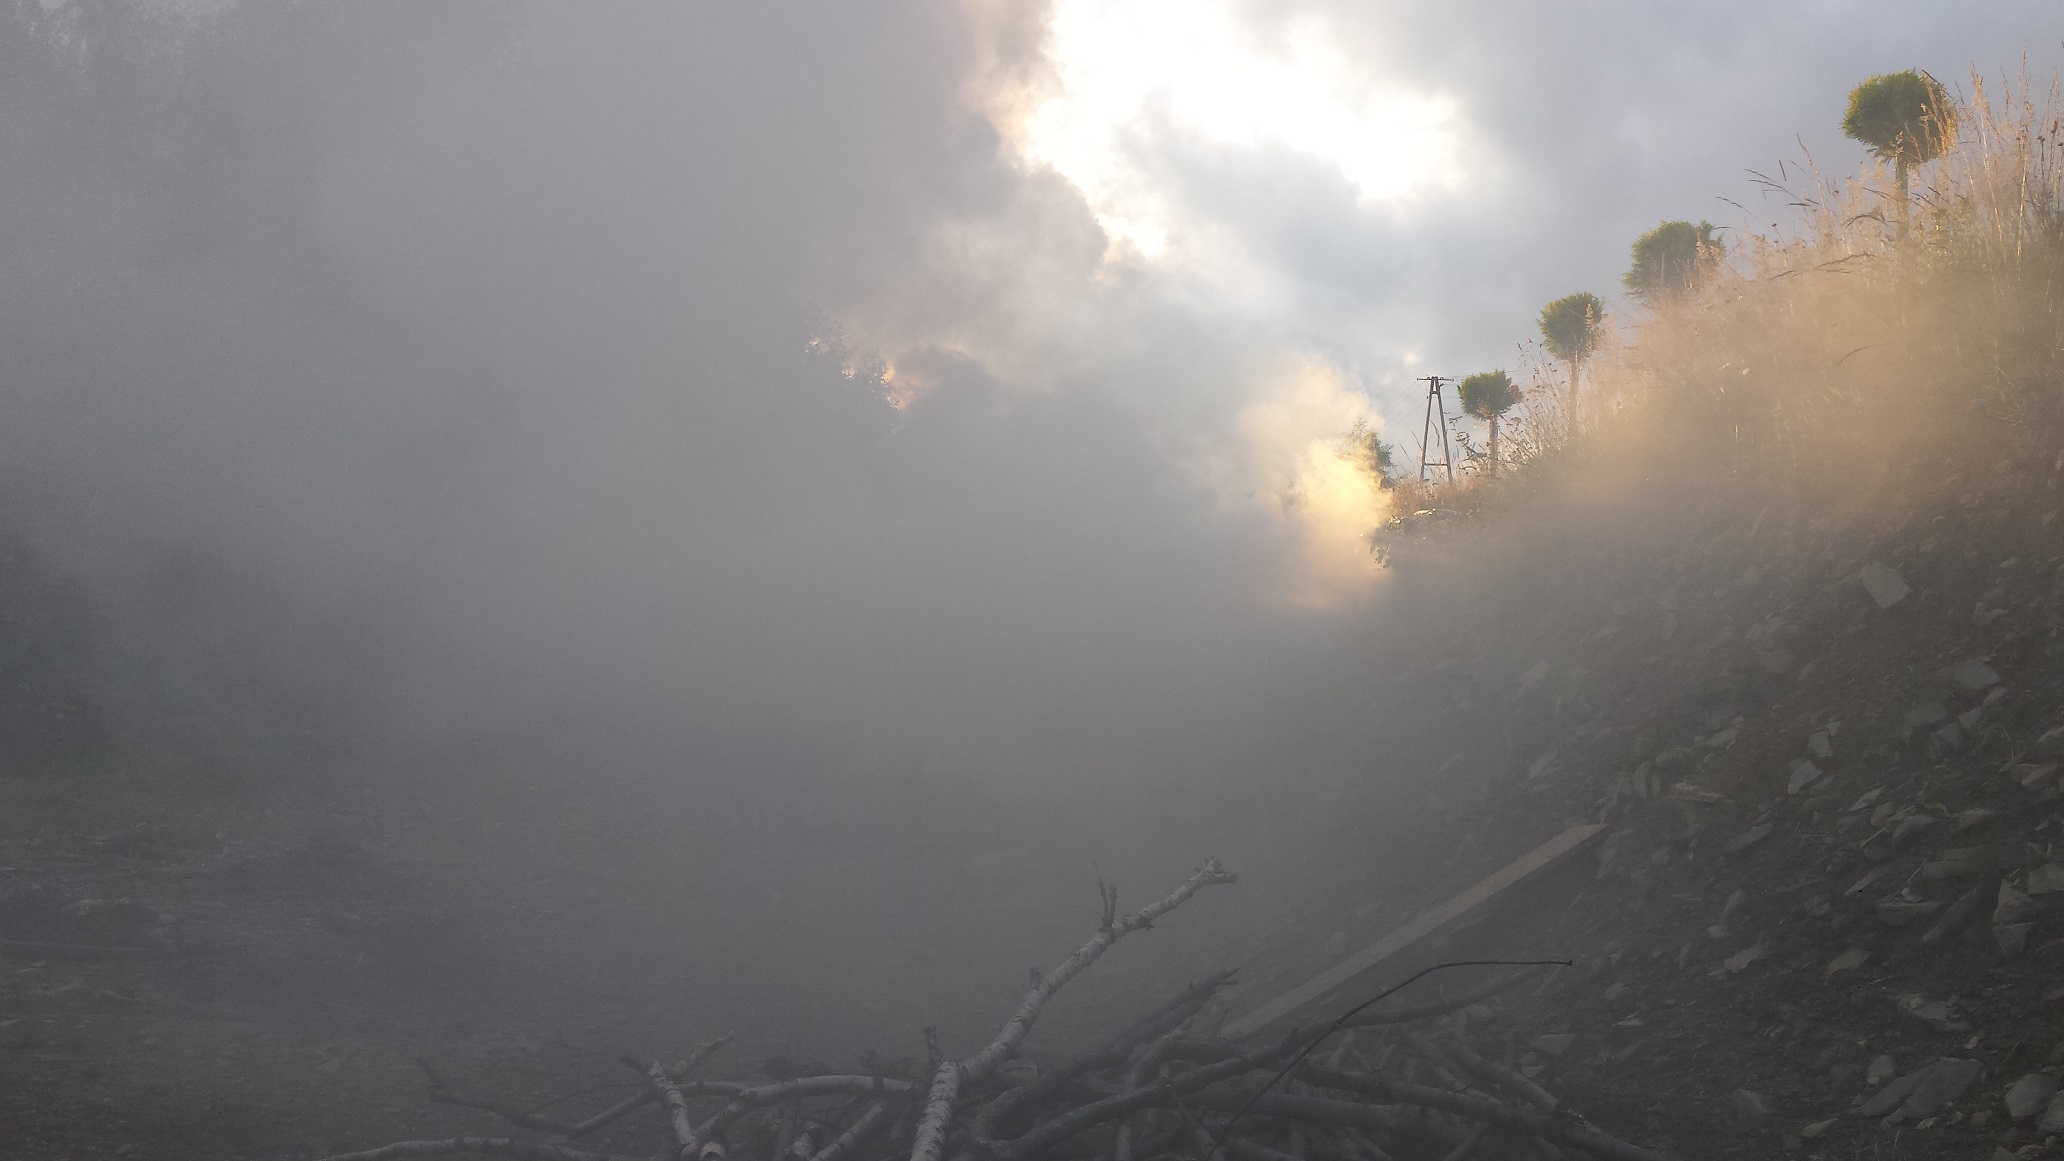
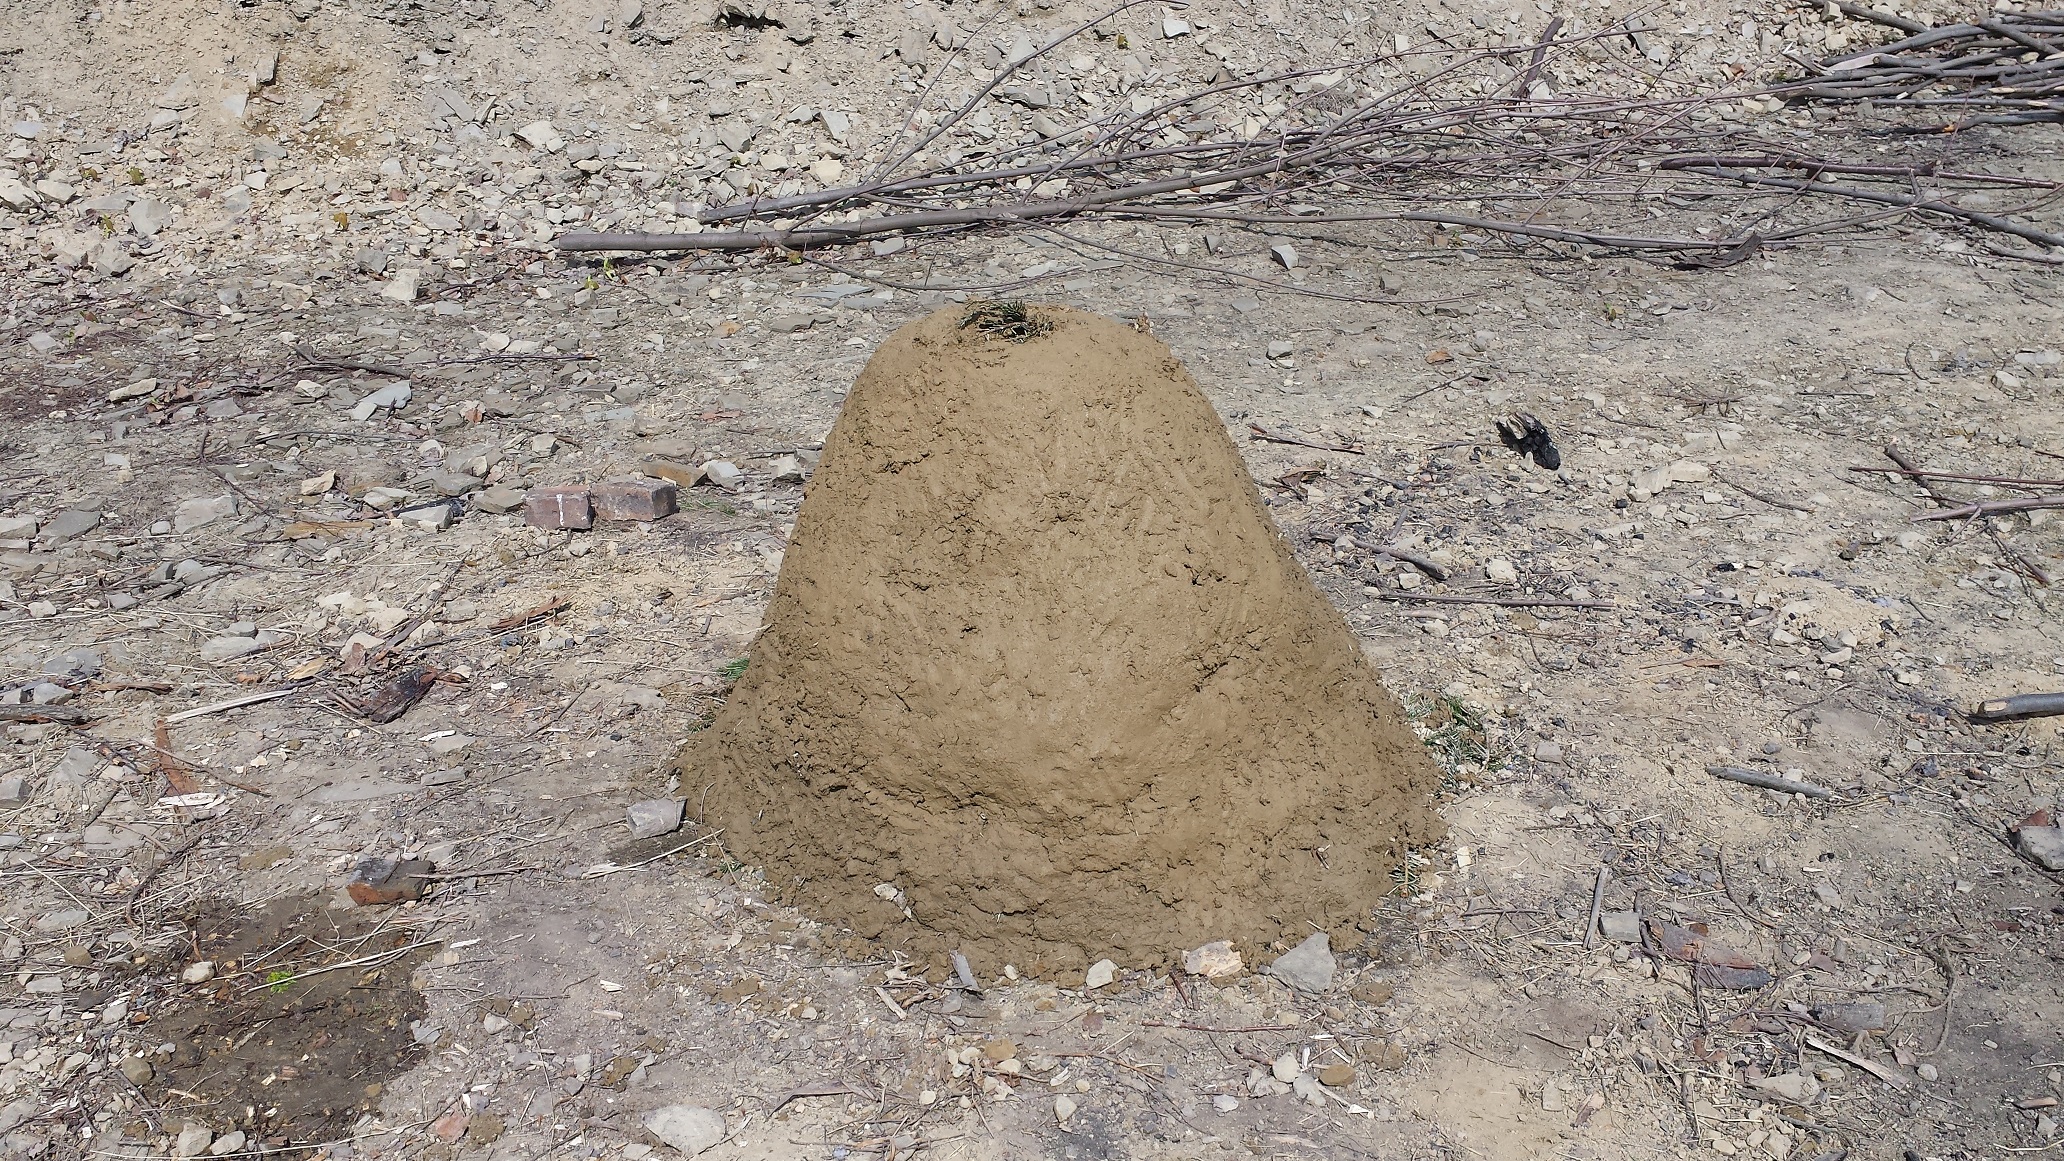
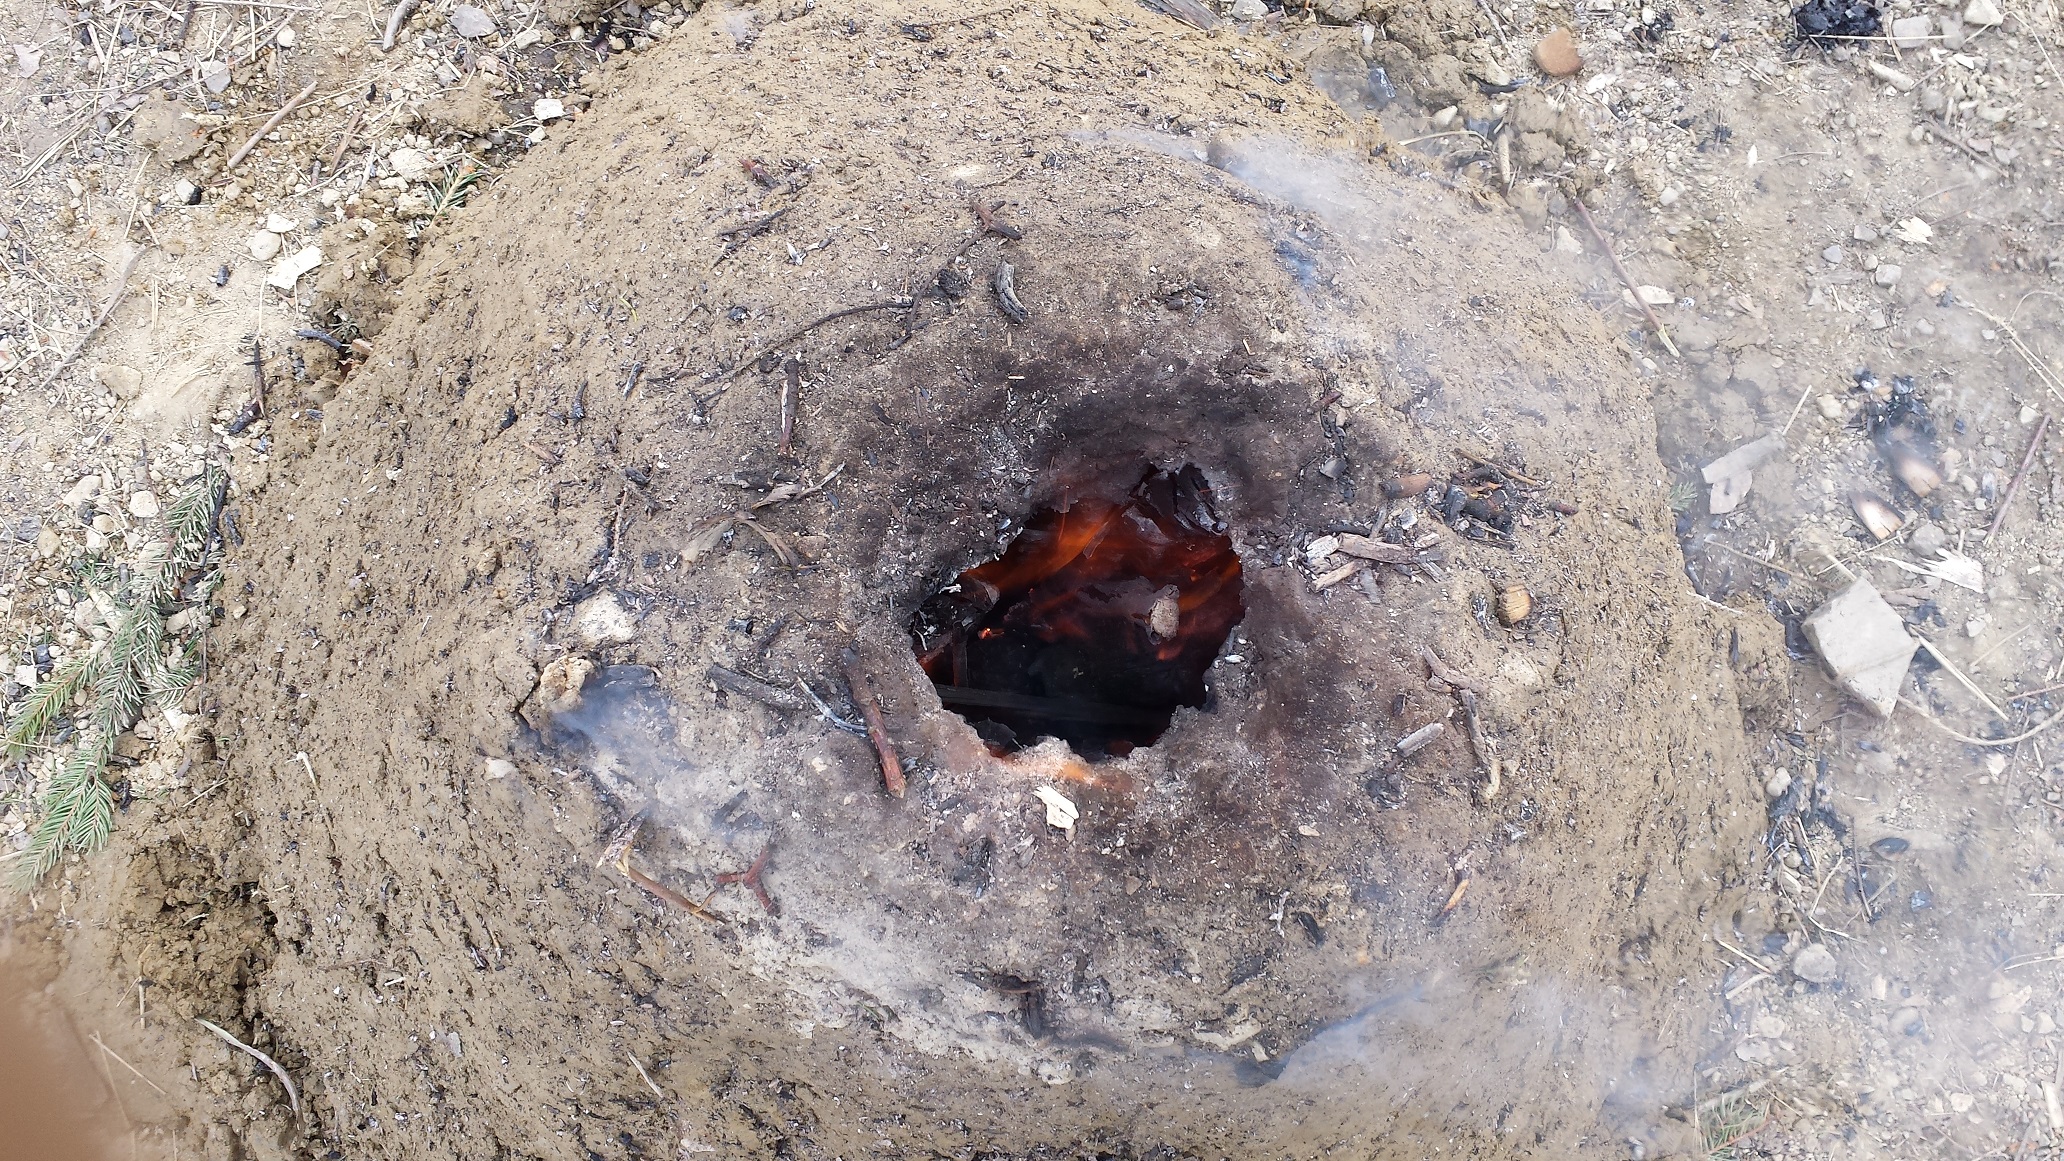
Watch the color of the smoke. When it is thick and yellowish, it is carbon monoxide, hydrogen and volitiles coming out. You can literally set this smoke on fire. This is what you call “wood gas”. You can run your car on it! Then it changes to just a white, thin mist coming out of the mound. At this point, seal all the remaining gaps. This is water vapor. It indicates a proper combustion is taking place.
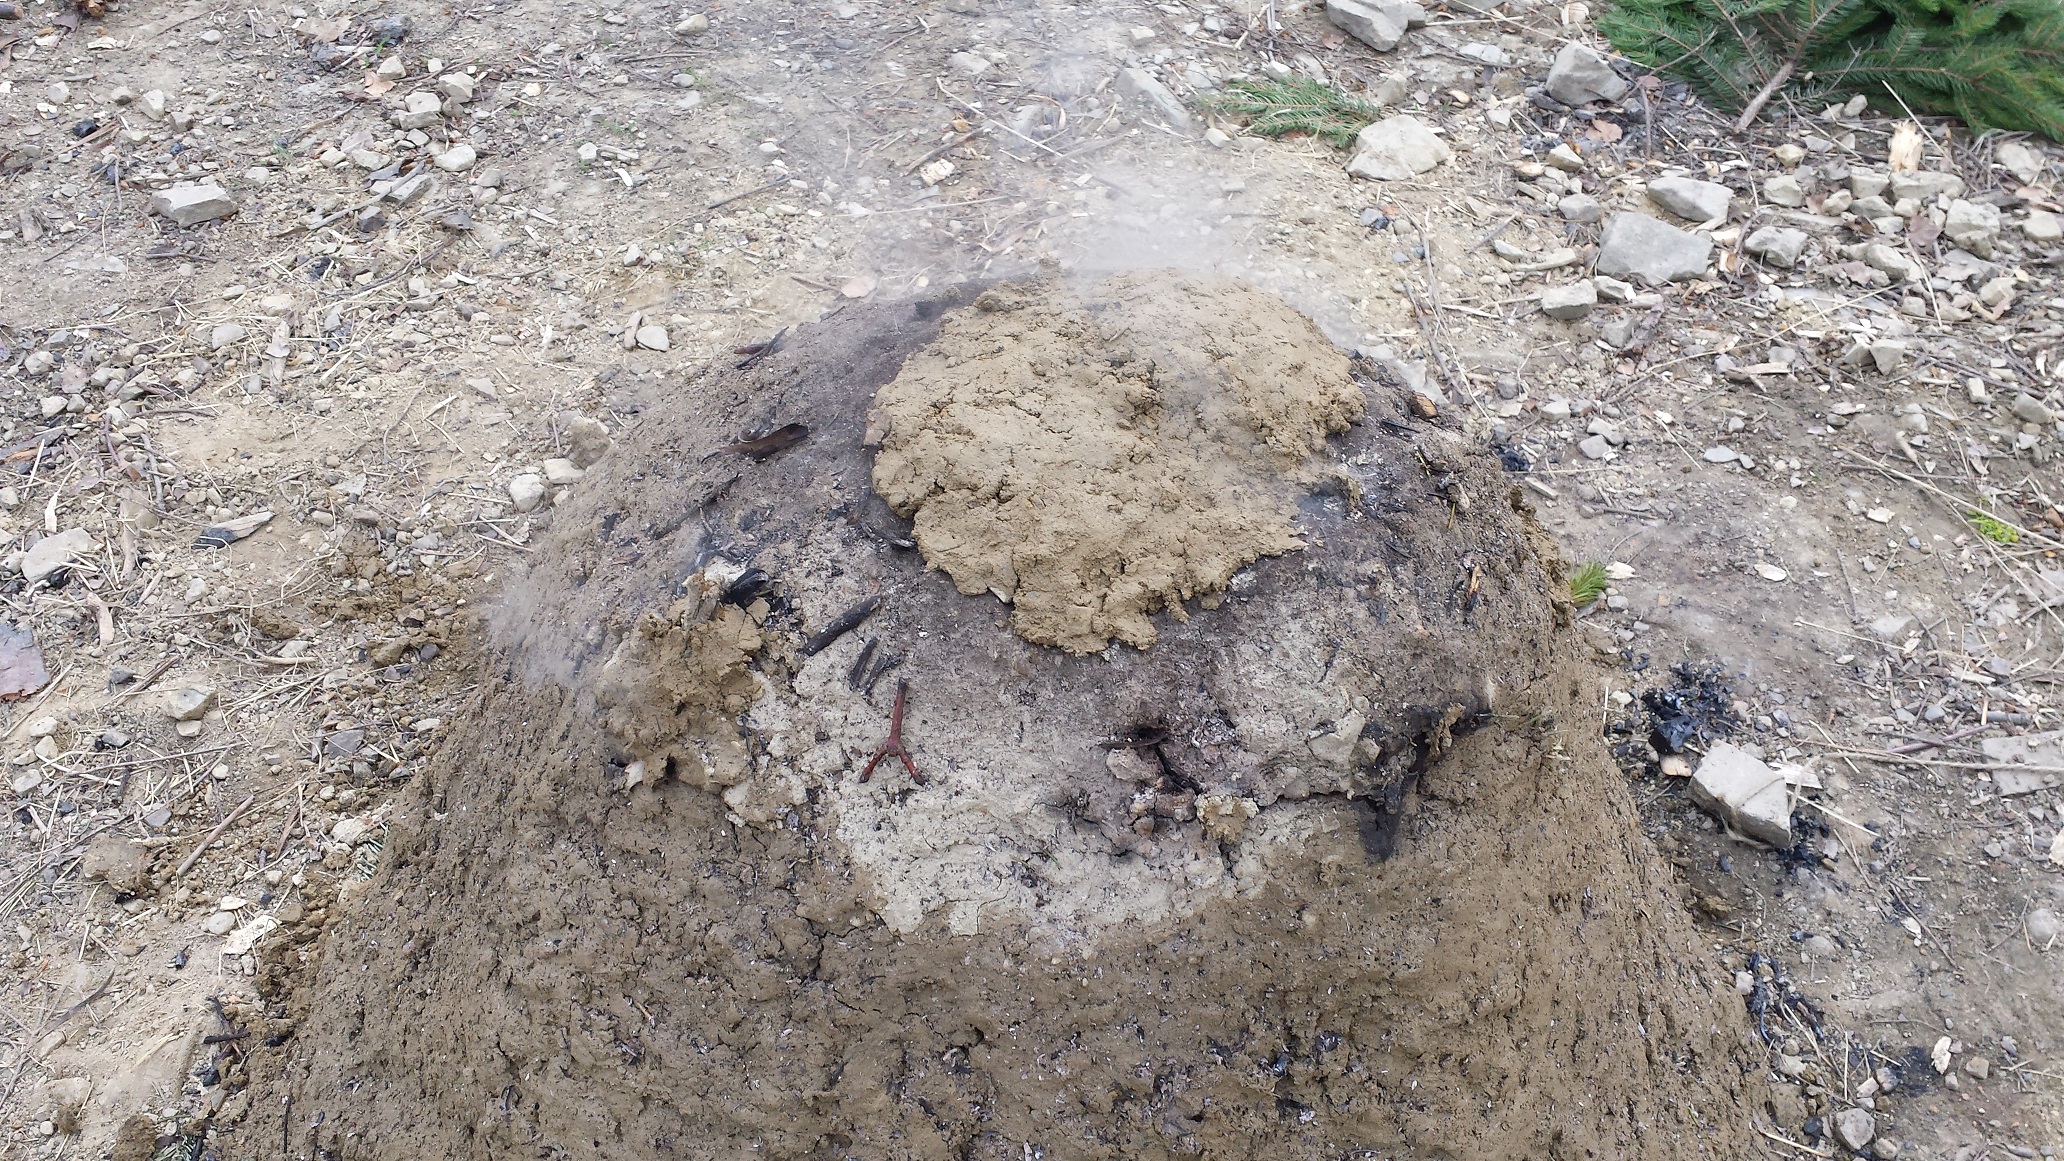
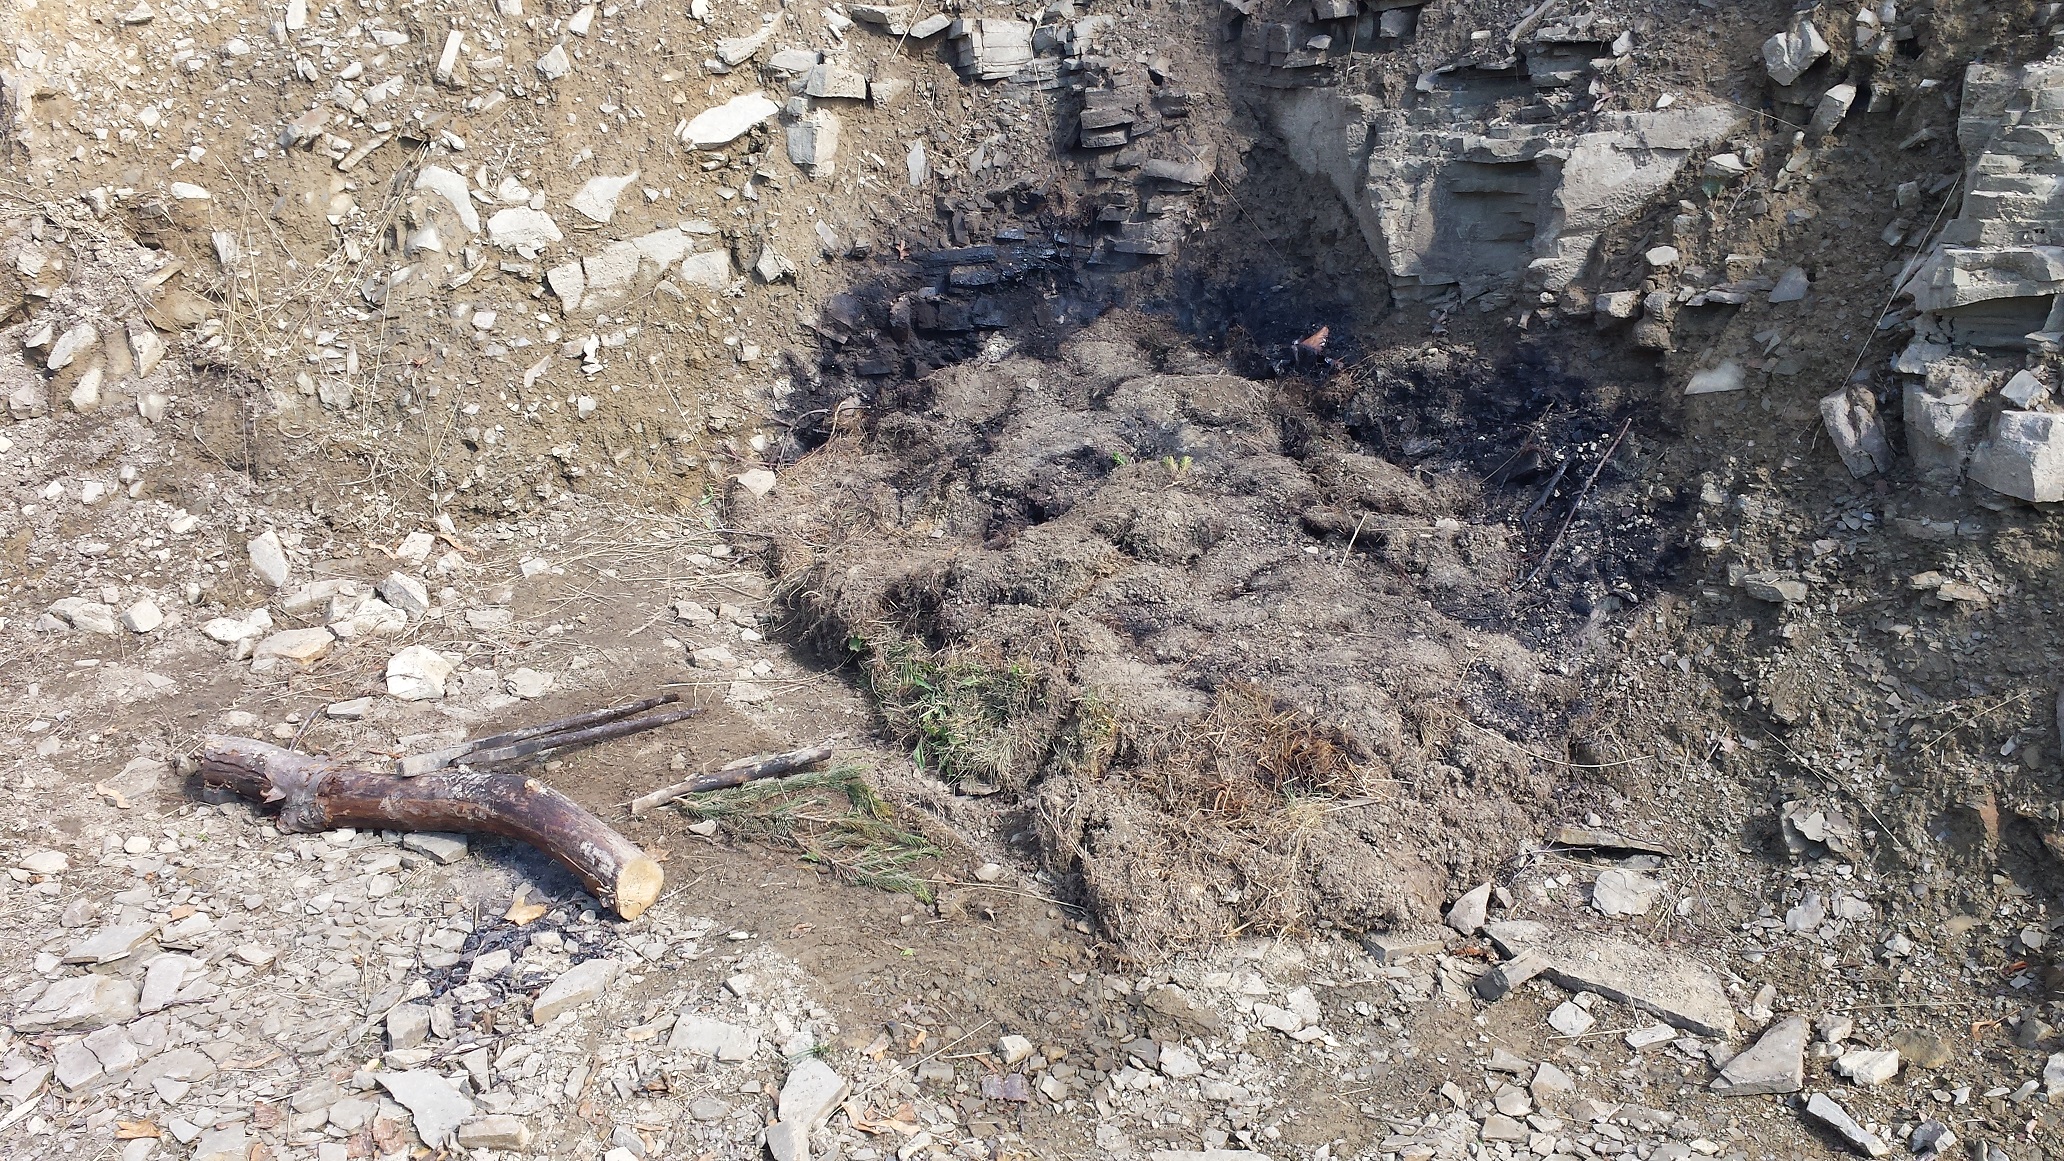
Now leave it overnight, or even for 24h depending on the mound size. Watch out: it’s VERY hot. Inspect it and seal any holes that will be created as the volume of the wood shrinks. Do this often. If you don’t, you’re gonna burn down all your wood to ashes.
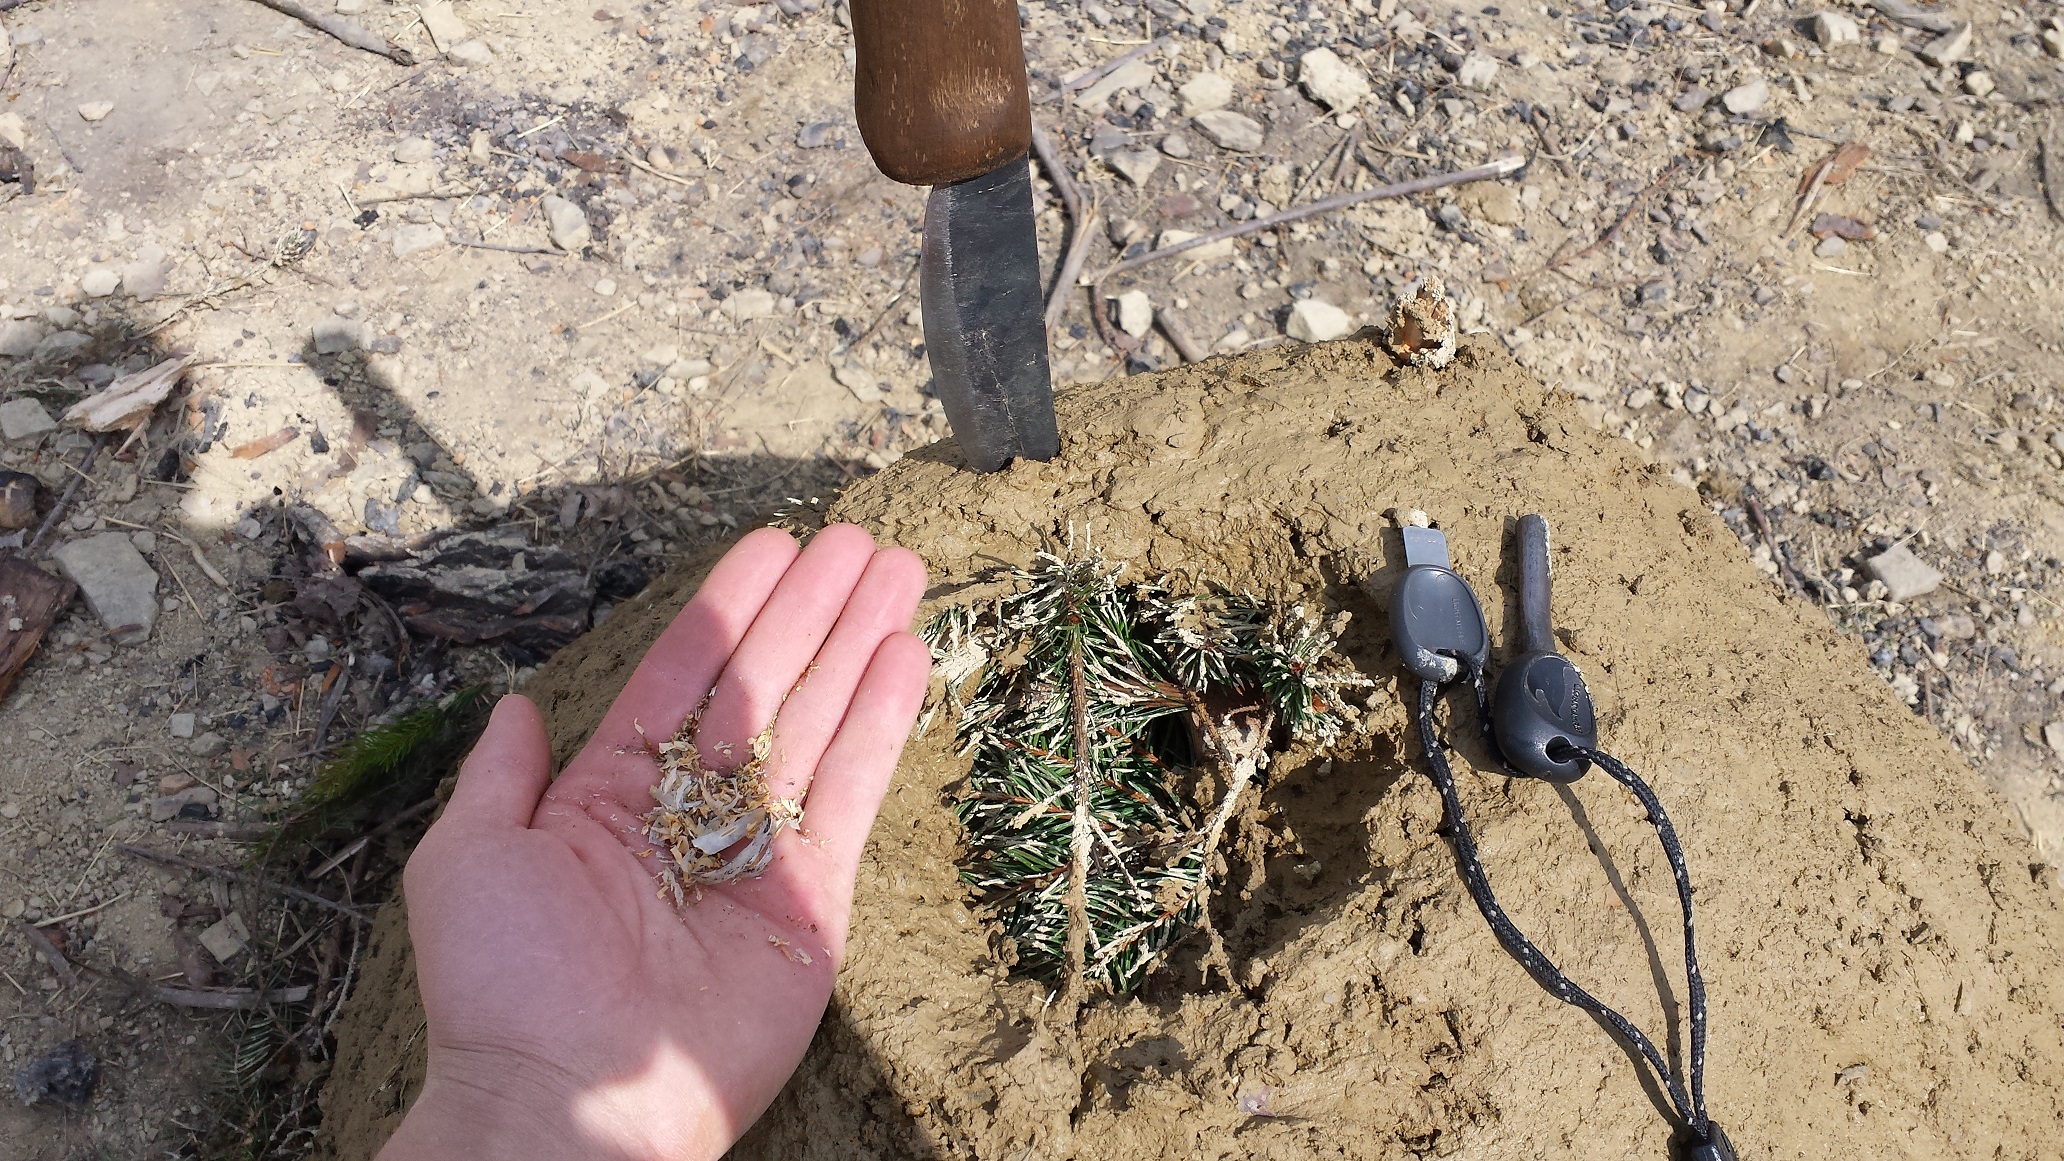
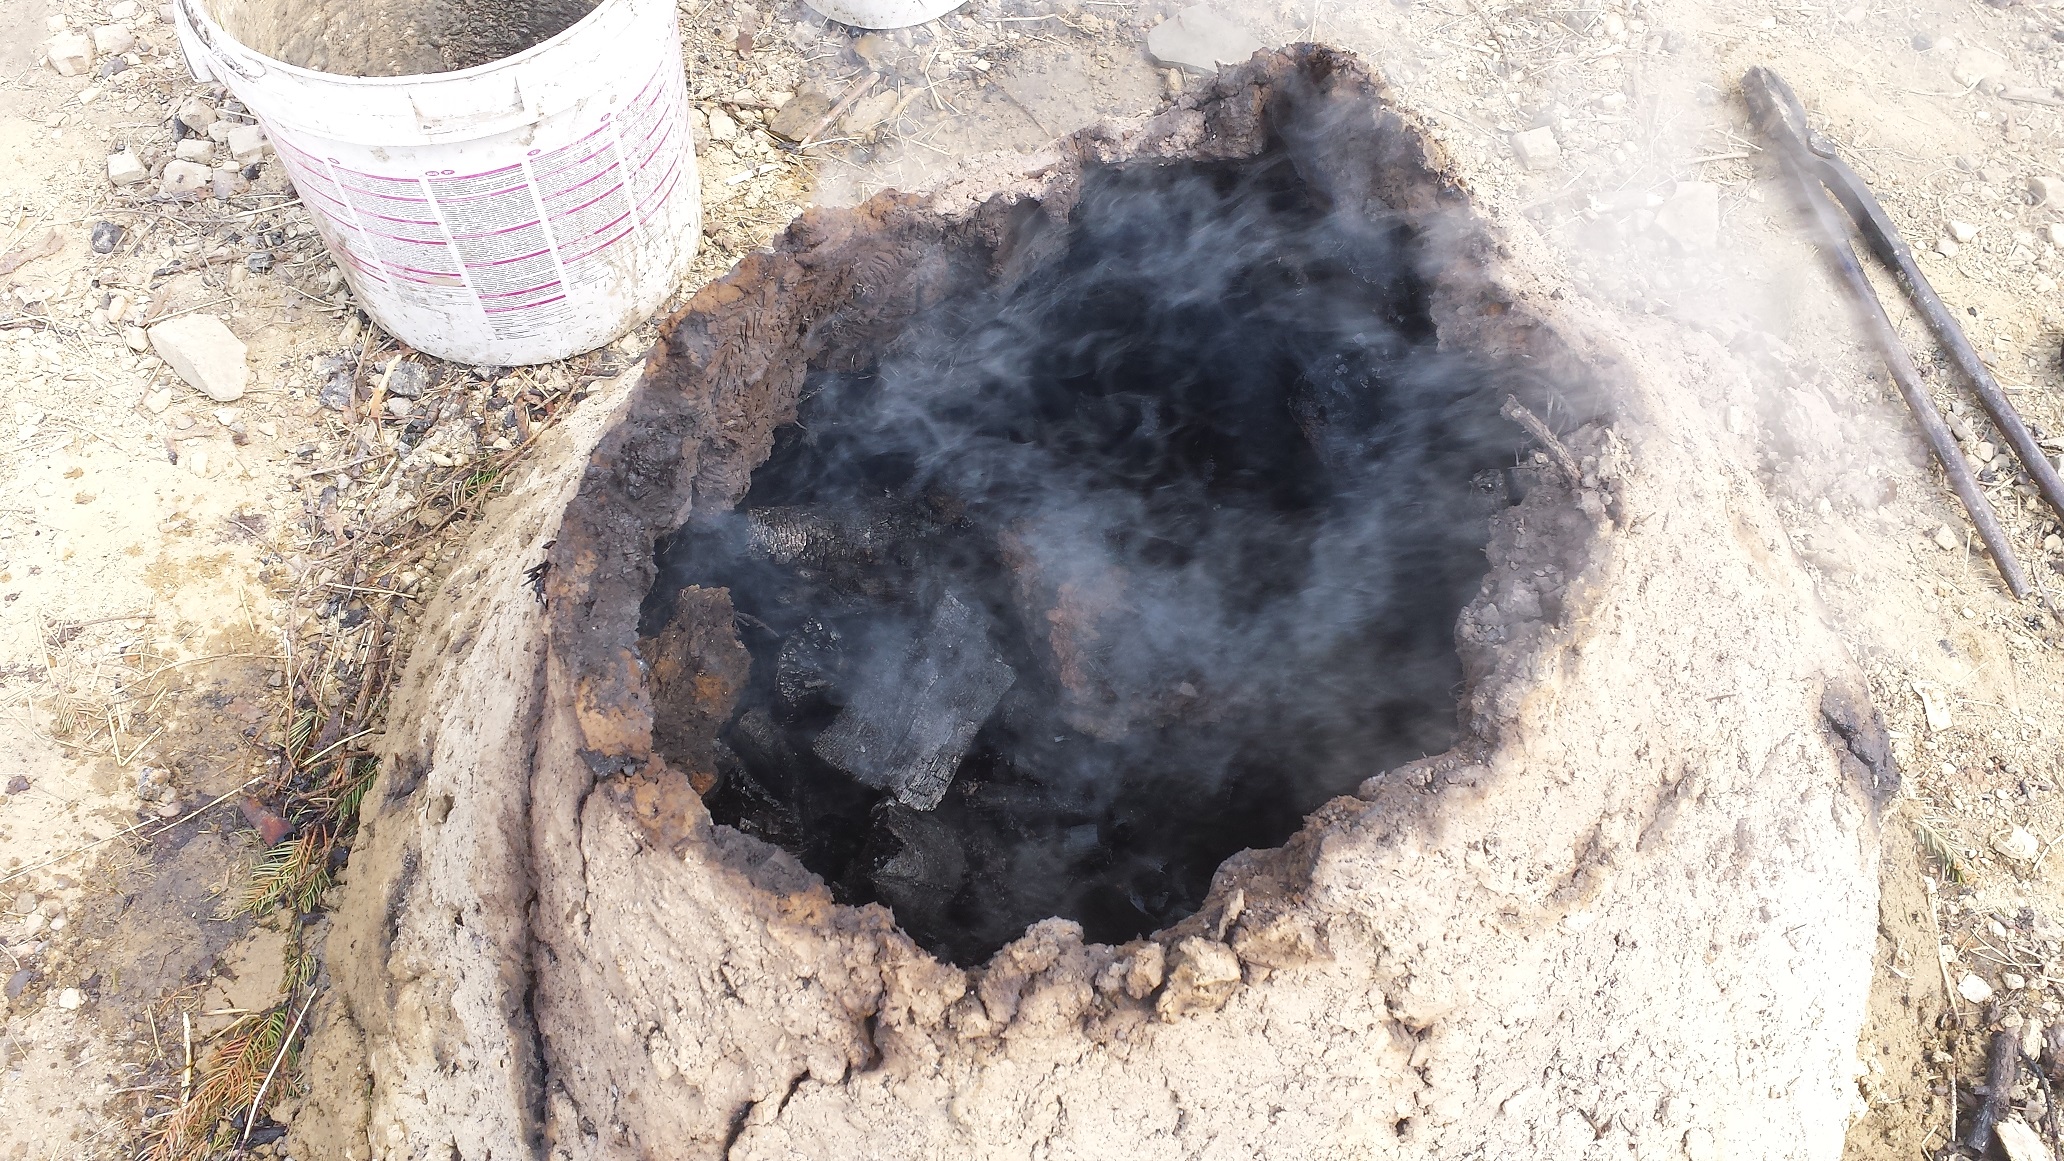
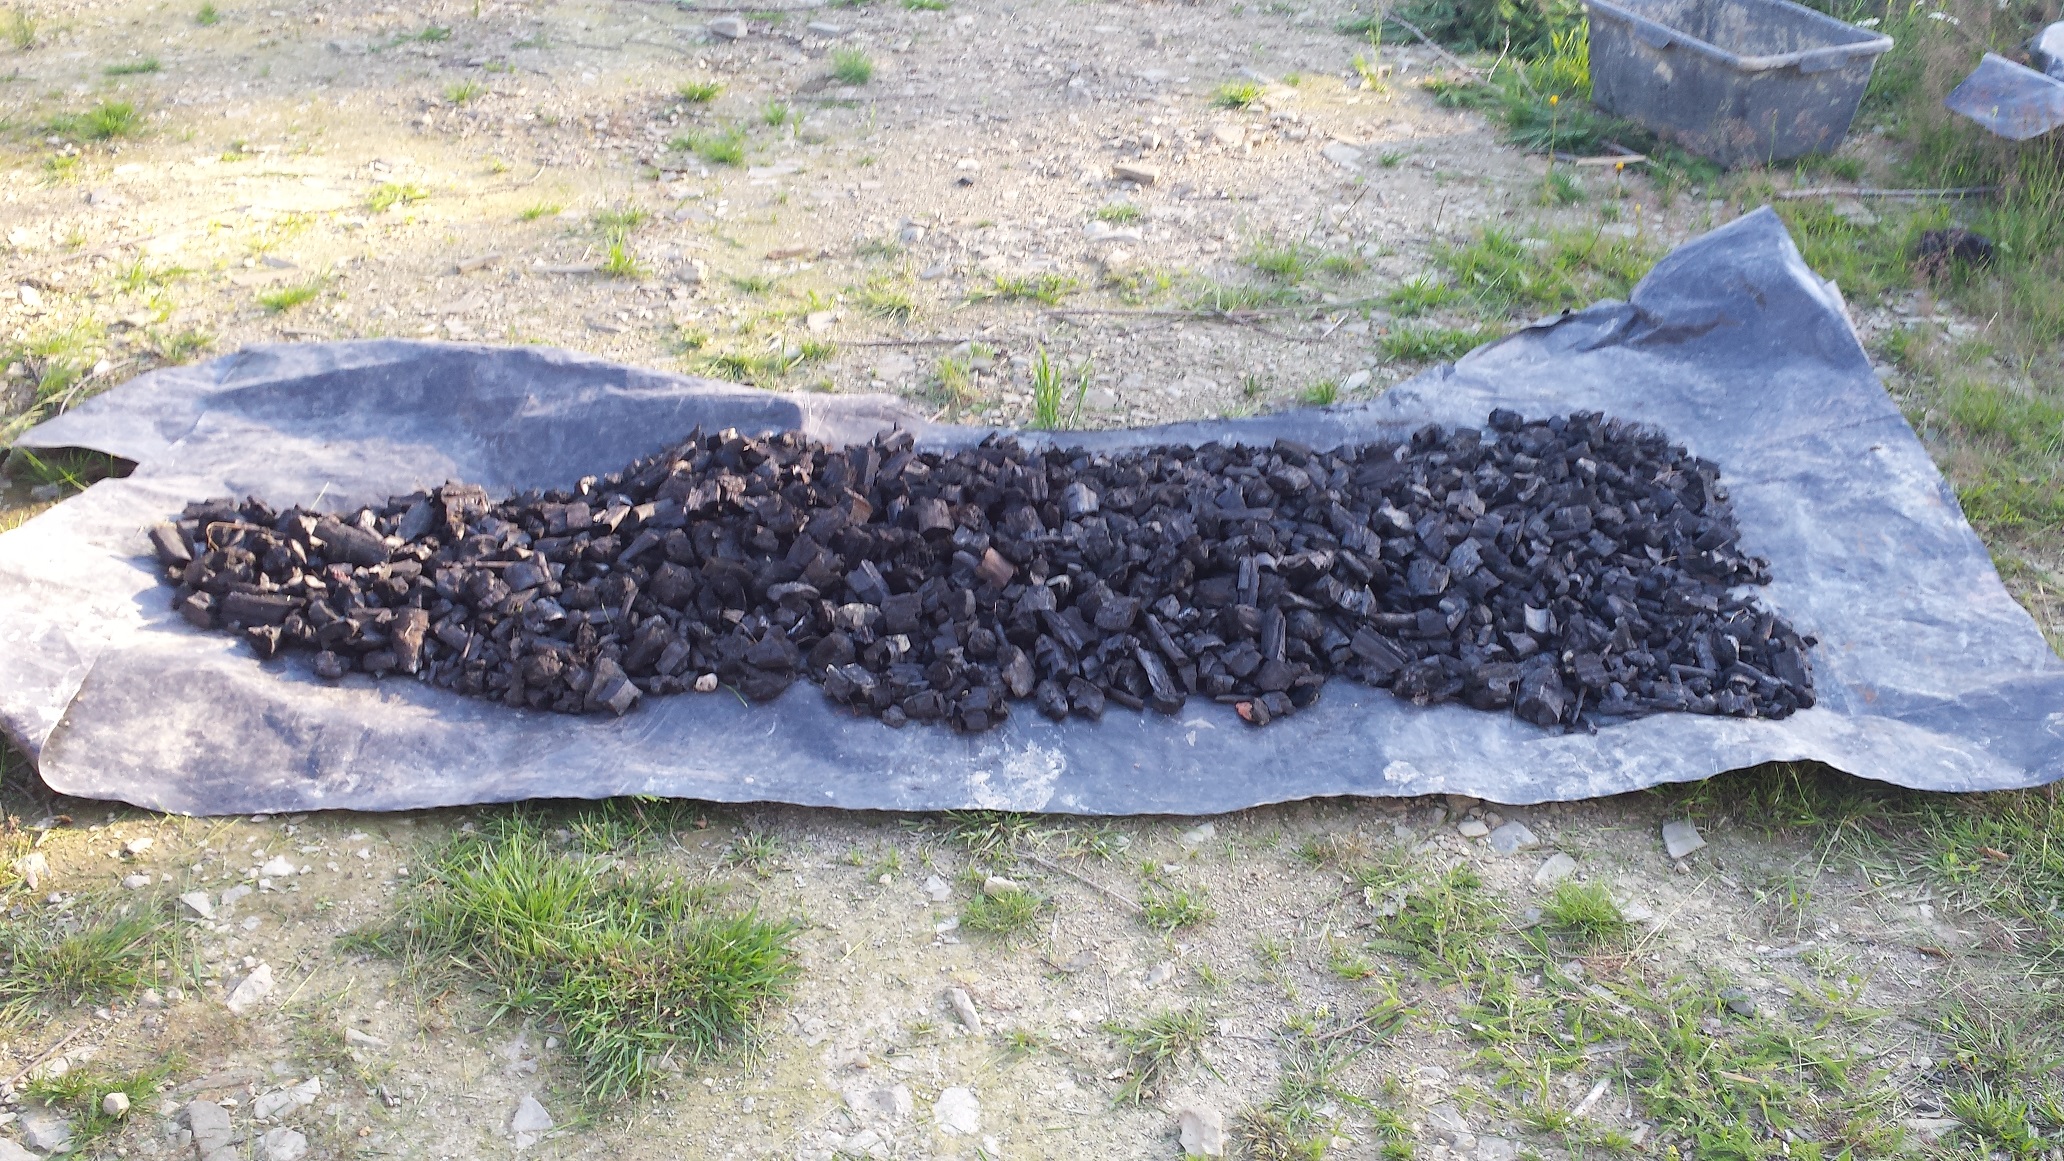
I don’t usually wait for it to cool down. It takes a long time. I will usually soak the mound and pick out the charcoal.
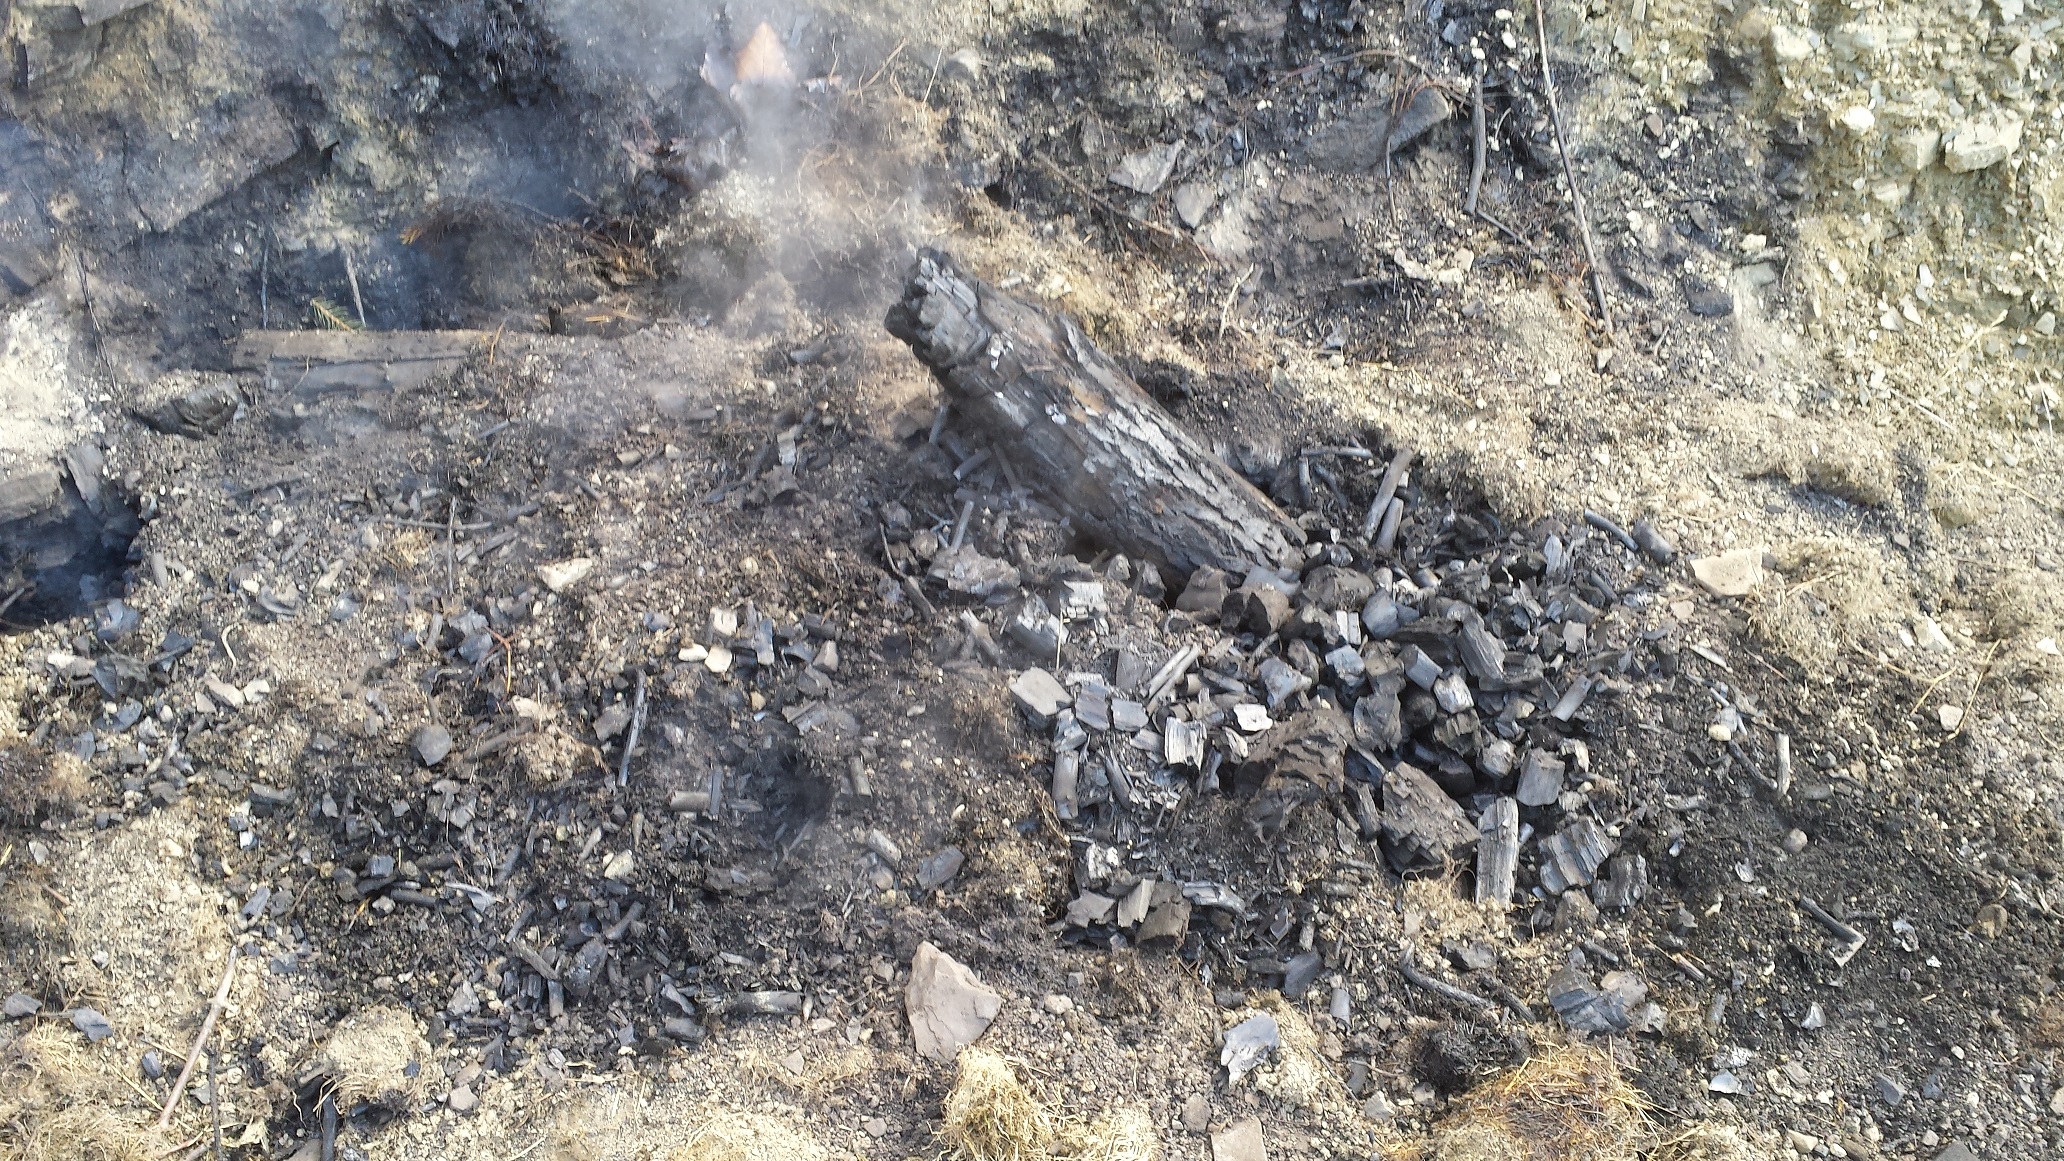
Now, the only thing left to do is to partition the big pieces into uniform size bits and leave it in the sun to dry out. Then store it in a dry place and there you go. You have made your own charcoal! Once you have around 25kg, you can continue to Part 2. Good Luck!
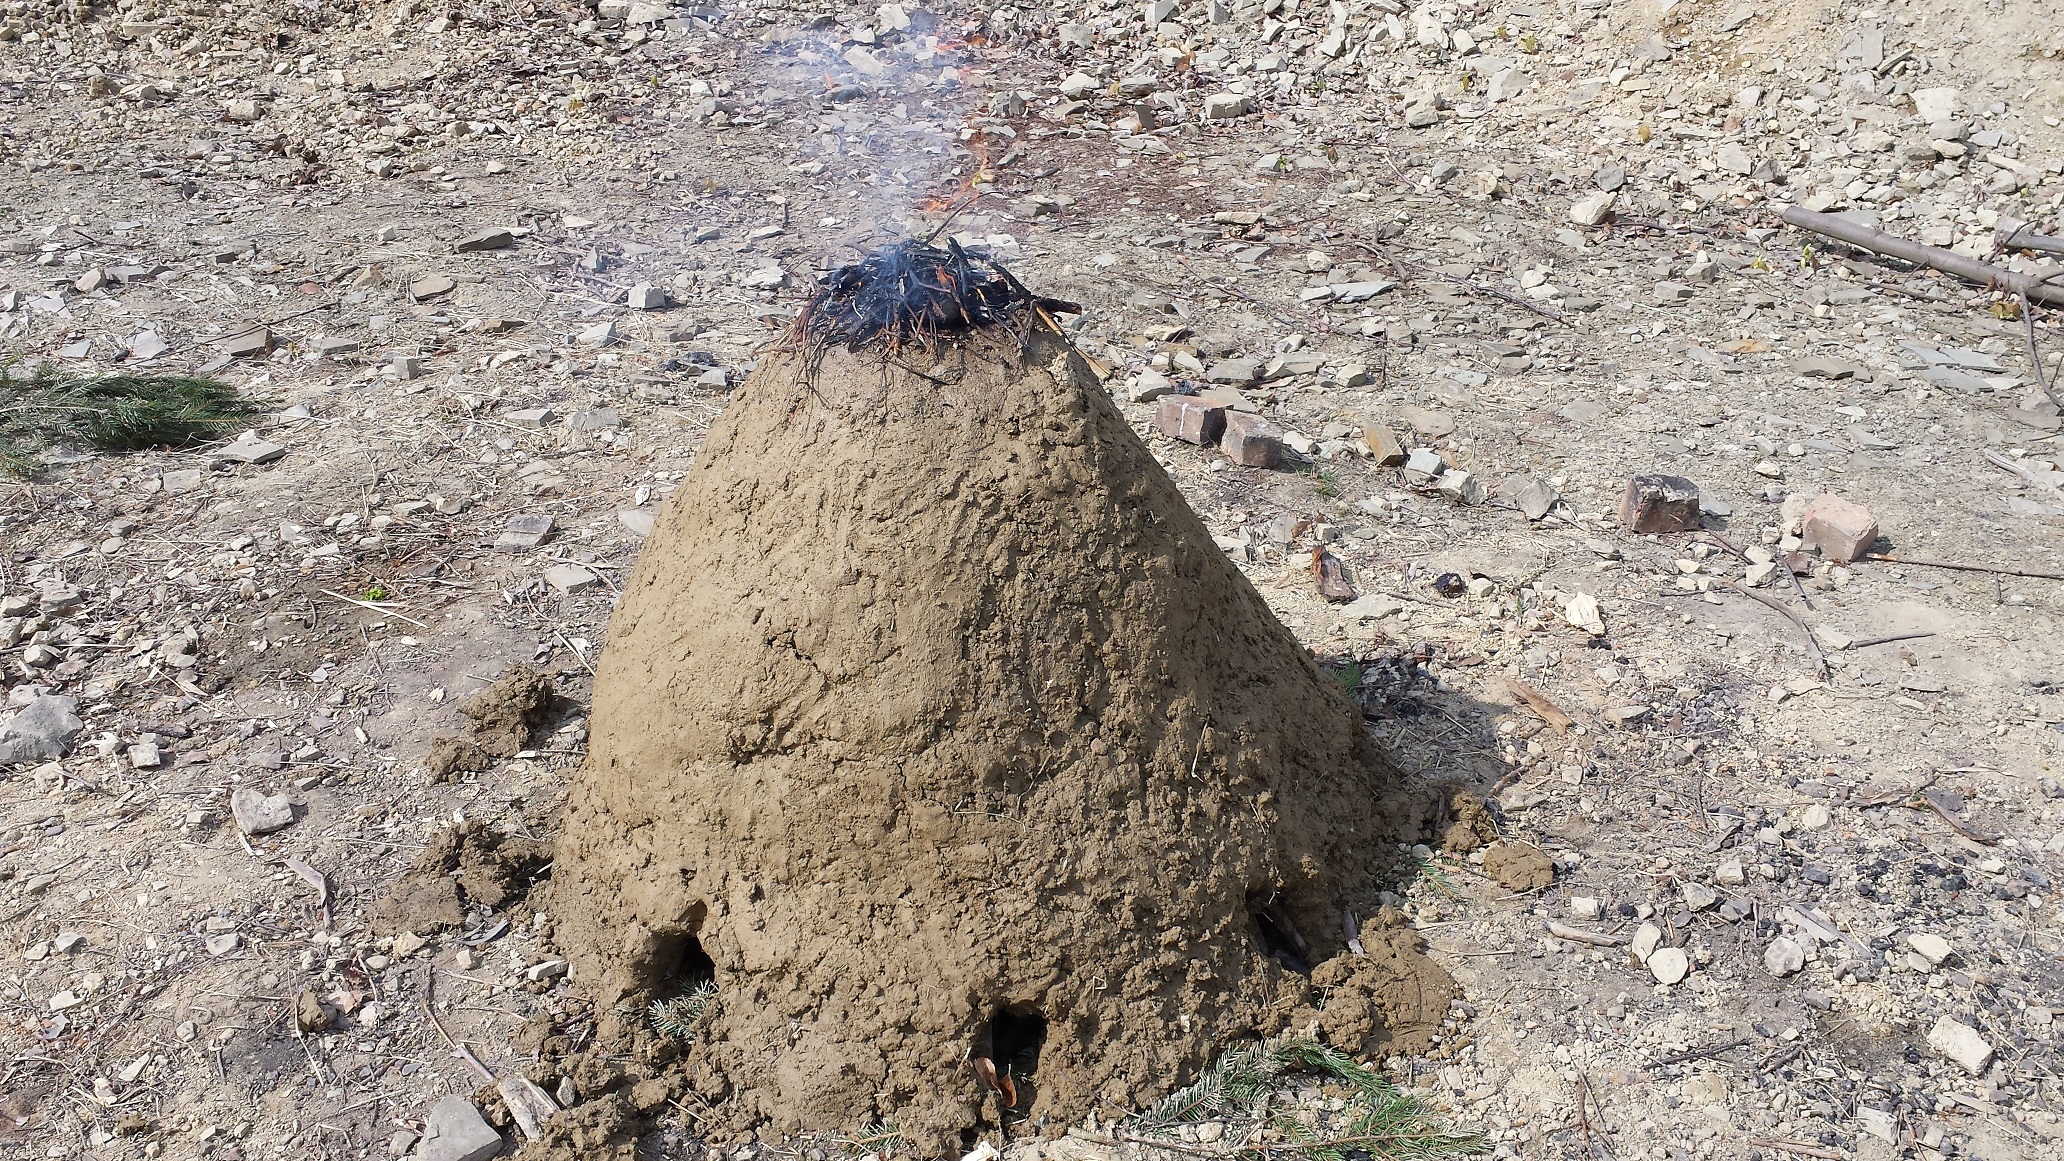
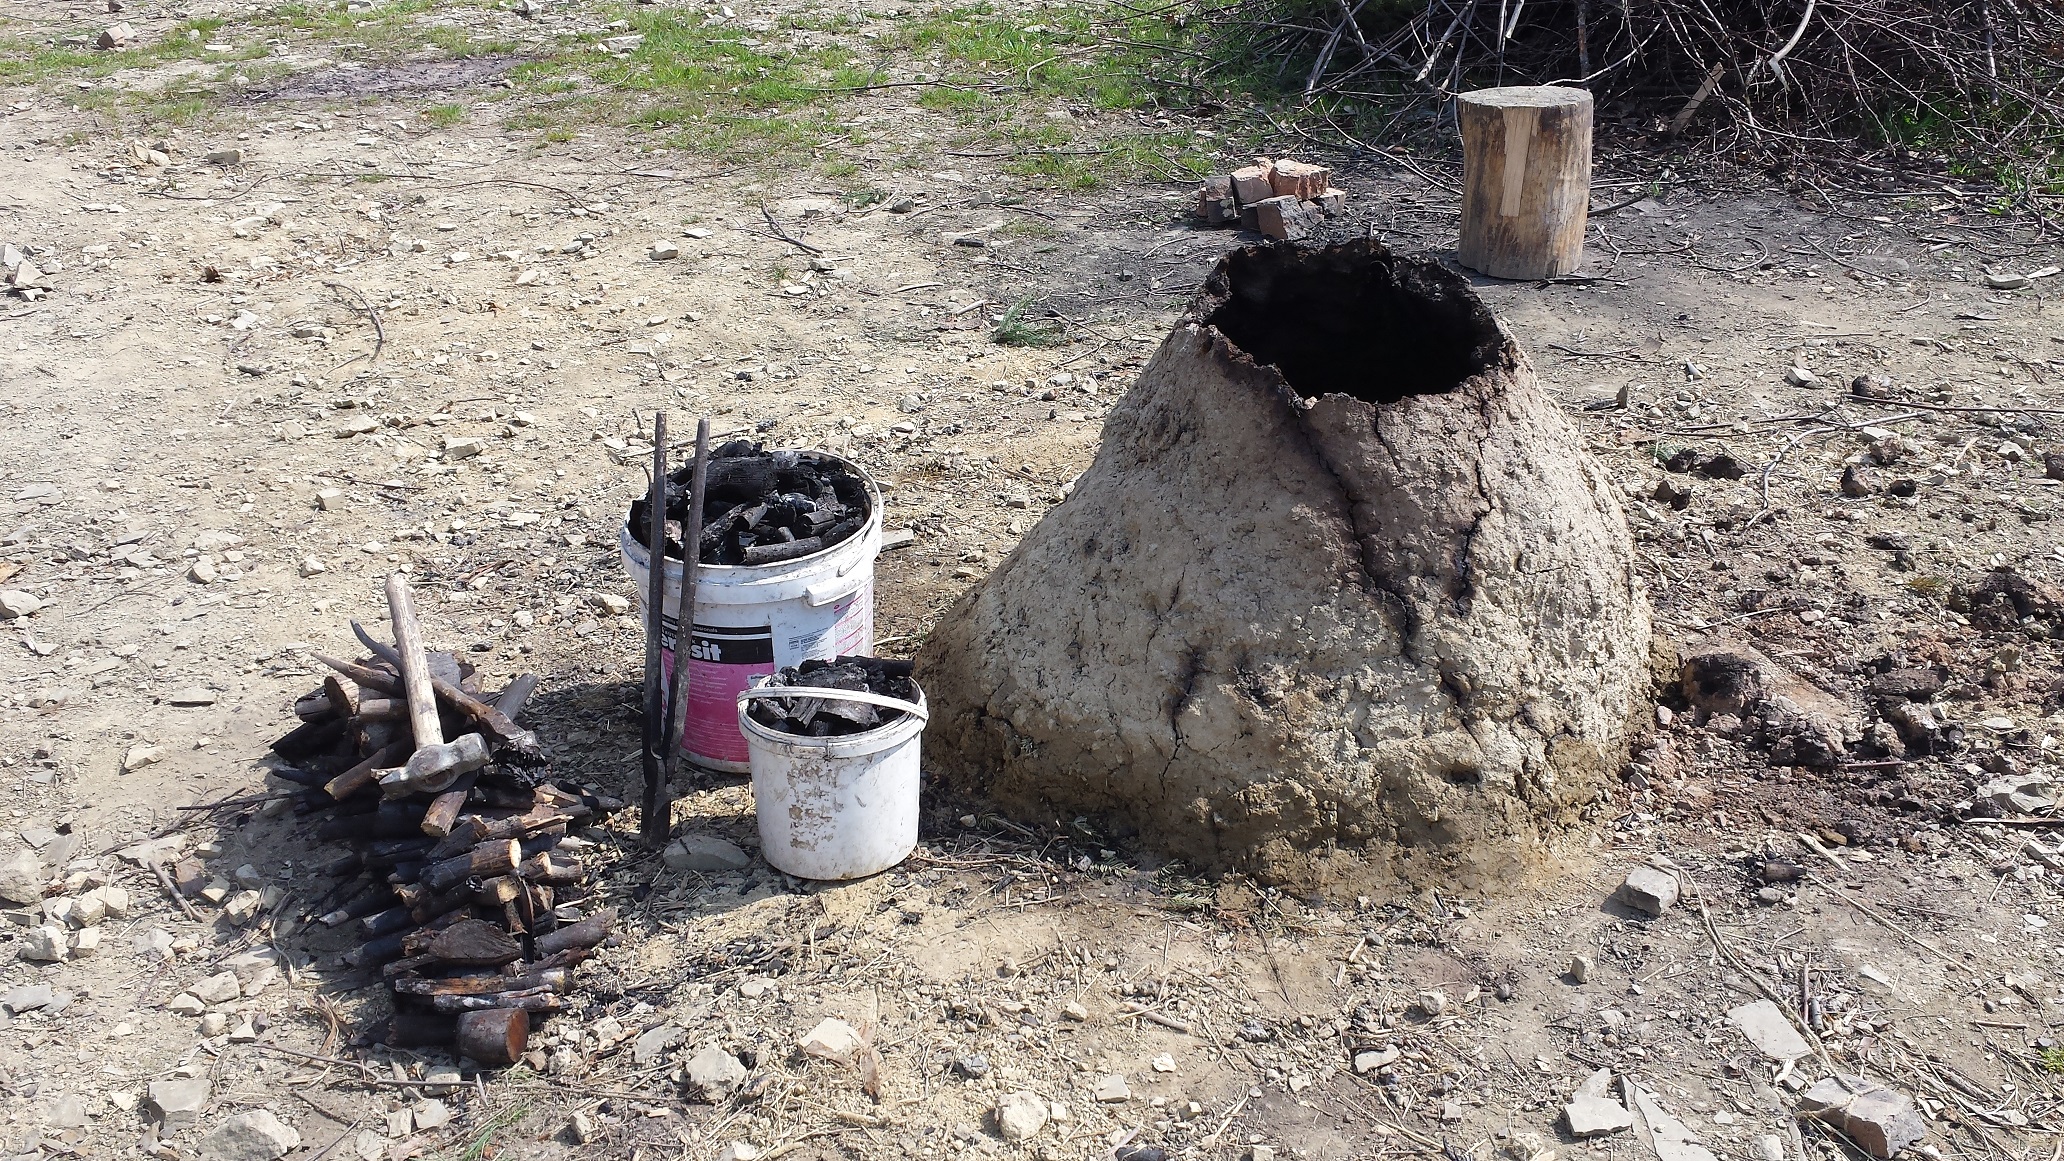
Method #2
This is my first attempt ever. I stacked the logs in a circular pattern, and put enough clay on the spruce boughs to make a rigid and airtight dome structure. This mound is reusable, but requires a lot more preparation and wood cutting. You have to remember to put holes around the bottom of the mound and one on the top to keep the fire burning. The procedure is the same: once it’s very hot, you cover up all inlets and let it carburize.